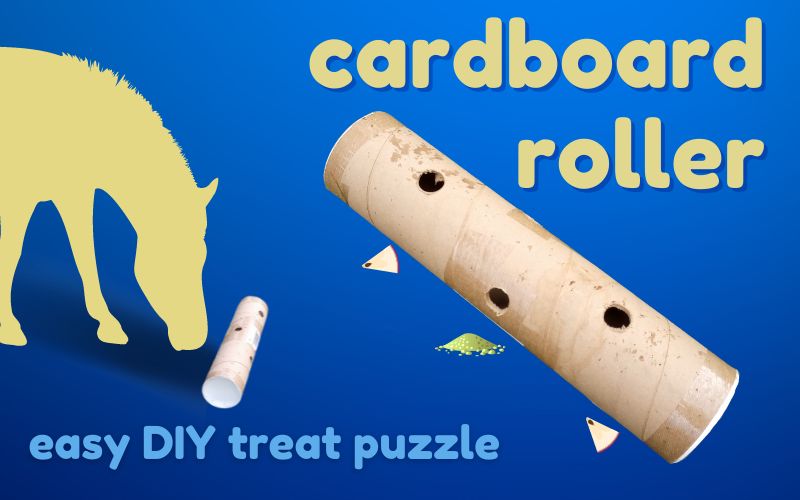
Horse toys can keep your equine occupied during stall time and relieve boredom indoors and in the pasture. In this tutorial we’ll make a simple but fun DIY horse toy out of a cardboard shipping tube! It’s free, fast, and fun for your horse. Here’s how to make a rolling, DIY cardboard horse toy step by step.
DIY Cardboard Horse Toy: Instant Treat Puzzle!
So what’s this toy all about?
The rolling cardboard horse toy is a simple equine enrichment item made from a cardboard shipping tube. Add holes along the sides, stuff with goodies, and presto! Instant toy.
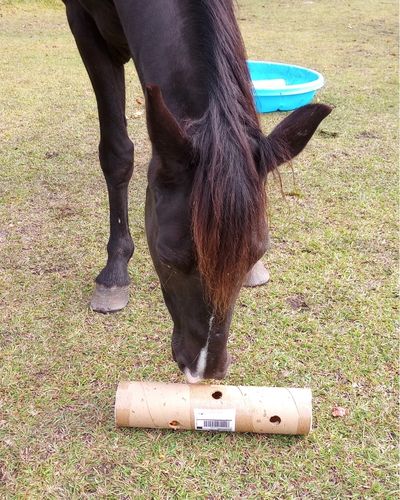
To get to the treats, your horse will roll the tube around on the ground. As it rotates, treats or grain tumble around inside and drop out of the holes for your equine friend to munch. It’s a toy that takes brainpower and patience, and keeps your horse moving and focused.
This DIY horse toy works with any treat, and can be customized for your horse’s needs and skill level by changing the number and size of the holes.
Why this DIY Cardboard Horse Toy is Great Equine Enrichment
We might think of this treat roller as a horse “toy,” but to get technical, it’s an enrichment item.
Enrichment for horses is anything that encourages their natural behavior and provides stimulation. In other words, fun and engaging boredom relief that lets your horse act more like a horse!
There are lots of important behaviors you can – and should! – encourage with enrichment, but some of the most enjoyable for horse and owner are food-related items and puzzles.
The rolling DIY cardboard horse toy is a puzzle feeder. Instead of just eating food out of a bucket, your horse will have to work a little bit to get the goodies.
Making a horse “work” for their food might sound mean, but it’s actually great for their mental wellbeing. Puzzle feeders give your horse a mental workout, a natural source of reward and enjoyment, and a chance to use their brains and bodies.
Surprisingly, animals actually prefer to put in effort for their food rather than just getting it for free. It’s such a neat topic that I wrote a whole article on it here.
Why the Puzzle Roller is Great for You, Too
This horse toy isn’t just engaging and beneficial for your horse. It’s a pretty great little project for any equestrian.
Some equine enrichment can be bought in a store, like the classic Shires hay ball you can grab from Amazon. Toys like this are easy to use; they’re plug and play. Just buy the toy, fill with treats and chuck it into the stall.
But we’re all on a tighter budget these days, and if you can save cash by making your own horse toys, that’s a win for everyone!
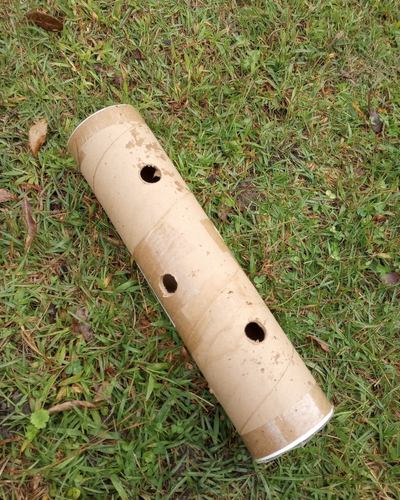
This cardboard horse toy is a do-it-yourself item that will give you the same enrichment value as a storebought roller puzzle, but without the cost. You’ll use reclaimed cardboard packing tubes that you can source from your work or school’s recycling bins.
You do need a drill and one special attachment to make the nice clean holes in the tube, but that’s not a big reach. You can borrow what you need if you don’t have a drill. Compared to some of the other DIY projects on this site – like the amazing but complicated giant spin-the-bottle toy – this project is easy and fast.
So let’s get started!
How to Make the Rolling DIY Cardboard Horse Toy
Once you have all your materials on hand, this project takes seconds to complete. Literally – it’s as fast as drilling holes in cardboard.
Let’s start with the materials.
What You Need
- Cardboard shipping tube, 2 or more inches in diameter, with caps
- Drill
- Hole saw bit (we’ll chat about this below)
- Horse treats or feed
Let’s talk about each of these items.
Cardboard shipping tube:
These tubes are used to ship posters and documents that can be rolled on themselves. They are thick and designed to be crushproof. Most of them come with a plastic cap at each end to make removing the contents a breeze.
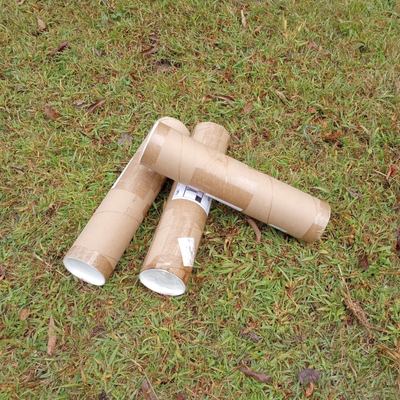
A wide tube is best for this project because it gives your horse’s treats more space to roll around, so they won’t get wedged or stuck. The tube pictured in this post is 4 inches in diameter.
You can often find these tubes in office or school recycling bins, making this toy totally free.
But if you don’t want to answer awkward questions from onlookers, these tubes from Amazon are just about the perfect size, and come out to about $2 a tube with caps.
Drill and hole saw:
The only tool needed to create the rolling DIY cardboard horse toy is a cordless drill with a hole saw attachment.
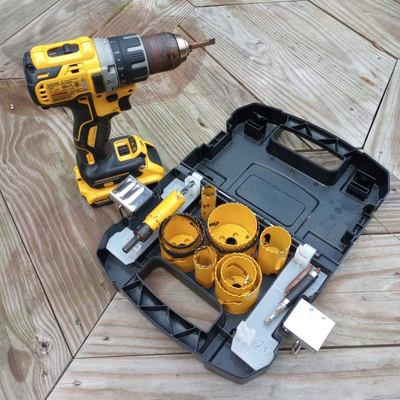
A hole saw kit lets you make perfect holes of different sizes in pretty much any material. I use it for all kinds of horse enrichment, including turning solid balls into custom treat balls or slow-feeders.
If you only had one power tool for making quick DIY projects, a drill would definitely top the list – and a hole saw kit is a no-brainer. But if you don’t have one, borrow one from a handy friend for this project.
It’s not a good idea to cut curved shipping tubes with a knife or scissors. Safety first! They’re more likely to slide or miss their mark, risking injury.
Step One: Plan and Mark the Holes
First, decide how many and what size holes you want for your toy. The arrangement of holes in the DIY cardboard horse toy impacts how the toy works.
More holes means more food comes out with each nudge. Fewer holes mean less food comes out.
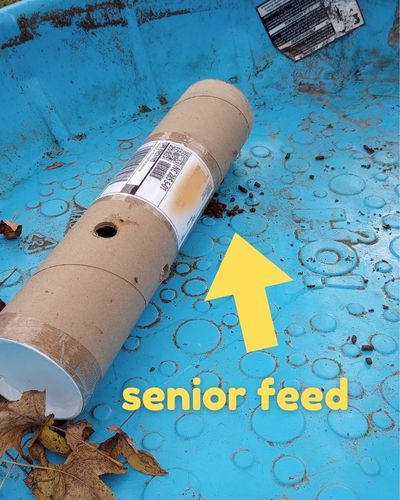
Bigger holes allow more treats to fall out each time, or allow you to use larger treats like chunks of softer fruits and veggies.
For these demo cardboard roller toys, I chose a 3/4″ hole. One toy has lots of holes and will be used with fresh fruits and vegetables. The other has fewer holes and will release grain or hay pellets.
Mark the hole locations with a marker or pencil, staying inside the lines of the cardboard’s ply for a stronger end result.
Step Two: Cut the Holes in the Tube
Using your hole saw, begin drilling until the pilot bit sinks into the cardboard.
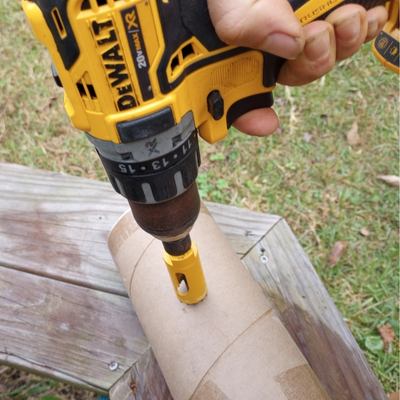
Work slowly and carefully. Cardboard is easy to cut, but you should keep a good grip on the tube to prevent it from moving suddenly as the teeth of the hole saw attachment make contact.
Apply gentle pressure and let the saw do the work in order to get the cleanest, tidiest cut. Pushing hard will result in shreds of cardboard around the edge of the hole.
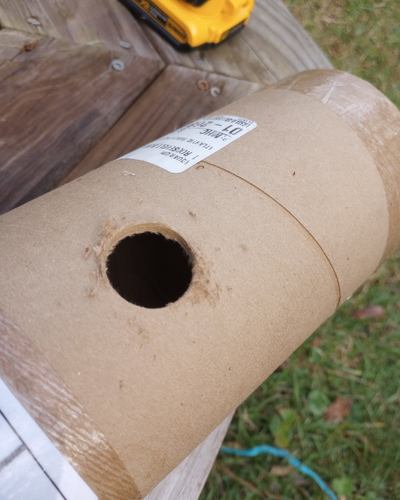
When you’ve made all the holes you want, clean the edges by pulling away any little trails of paper with your finger.
Step Three: Add Horse Treats and Feed
Now, the best part: treats!
You can use any edible item in your DIY cardboard horse toy. Remember that the roller is made of paper, so treats and feed with a dry texture work best. If you want to use wet treats or soaked feed in a similar way, a plastic option like the DIY treat-dispensing Jolly Egg is a better choice.
Good dry-textured veggies for this toy include:
- Carrot
- Celery
- Pumpkin
- Sweet potato
And of course there’s dry options too, like:
- Your horse’s daily grain or supplement pellets
- Hay pellets
- Crackers
- Pretzel sticks
- Storebought equine treats
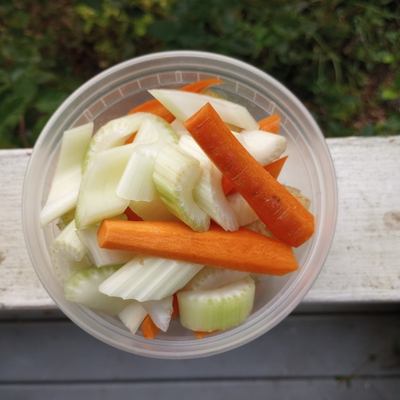
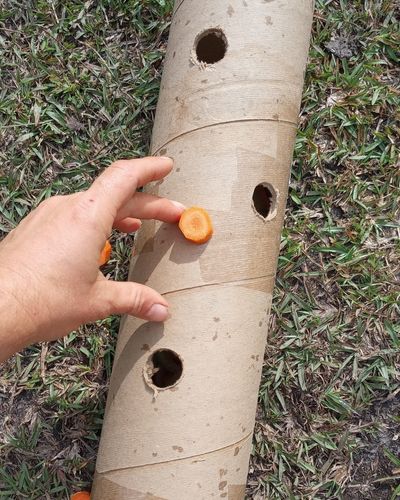
Choose the right shape and size treat for your roller based on your horse’s needs and skill level. If it’s their first time, cut the treats into small pieces so that they drop out easily. In the image below, you can see that the carrot chunks are too big for the holes in this toy – I had to chop them up before using them.
If you want to learn more about making toys that are fun and challenging but not too difficult, my recent article on whether toys can be too hard for horses is a good source of info!
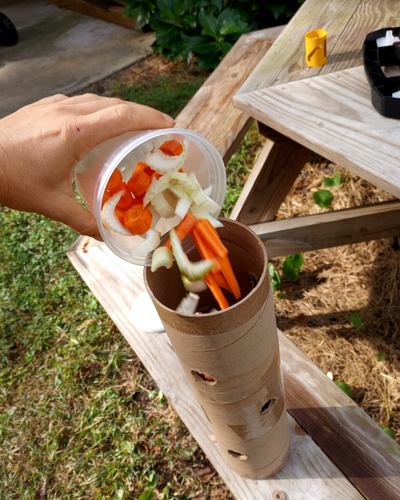
Remove the end cap from the tube and pour the treats in, then cap the tube. And just like that, your toy is ready!
Using Your DIY Cardboard Horse Toy
You can use this toy in the stall or pasture.
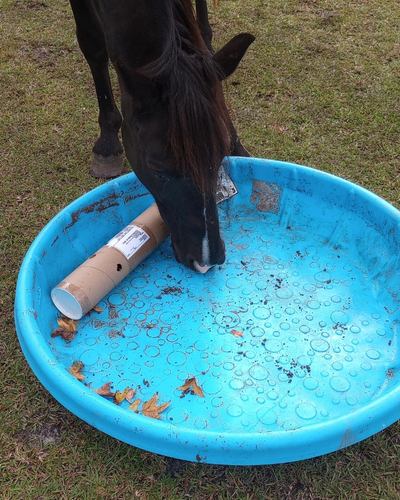
If the treats you chose are small, like grain or hay pellets, it’s best to use the cardboard roller toy in a larger container like a kiddie pool. If you have very short grass, you can get away with using it on the ground.

A pan or shallow trough is also the best way to use this toy if your soil is sandy or your treats are on the stickier side.
Sprinkle a few treats around the toy so that your horse will begin to nudge the roller around. Since your first DIY roller puzzle will be easy, with big holes, they should get the idea quickly.
And then you just enjoy the fun!
For safety, it’s best to supervise your horse during use and remove the roller when your horse has eaten all the food. This lets you check the toy for any stuck leftovers, and put it away somewhere dry and clean so you can use it again and again!
Related Enrichment
The DIY cardboard horse toy treat roller joins a stable of other moving, rolling, goodie-dispensing puzzle toys for horses. In addition to the ideas linked within this article, try these for more inspo:
The Plastic Jar DIY stall toy – this one hangs from the wall!
The Kong Wobbler for horses – no DIY involved, just buy and use!
DIY hay ball using a big plastic carton, for forage as well as treats
Cheers