Hay balls are great for horses. They’re perfect enrichment for stall or pasture. But hay balls for horses can be expensive, so why not make your own DIY horse hay ball for free? Here’s how to make a DIY hay ball from household supplies. Your horse will love this slow feeder puzzle and boredom buster.
What Is a Hay Ball for Horses?
A hay ball for horses is a roundish object usually made of plastic with big holes in the sides. A DIY hay ball for horses, or treat ball, might be jar- or can-shaped. As the ball rolls around, hay sticks out of the holes for your horse to eat.
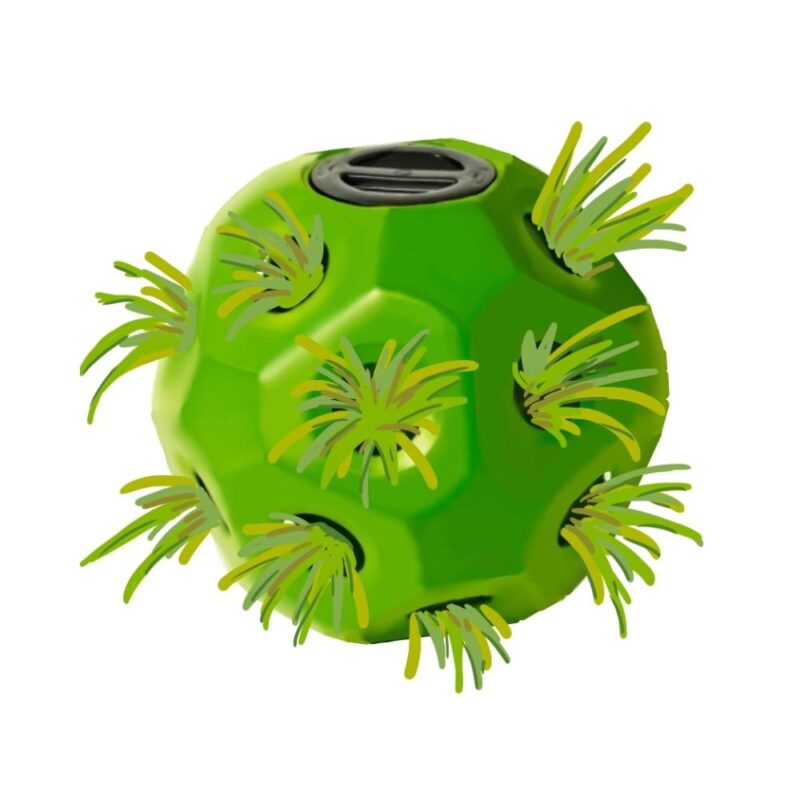
With a treat ball for horses, food drops out of the holes. They’re different from hay balls, which are big and mostly used with forage.
Your horse’s DIY hay ball can hold hay, but you can also use it as a rolling treat ball. Fill it with feed, other grain, treats, or chunks of fruit. It gives your horse the chance to solve a puzzle, get exercise, and enjoy tasty treats. It’s one of the best stall toys for horses.
Perks of DIY Hay Balls for Horses
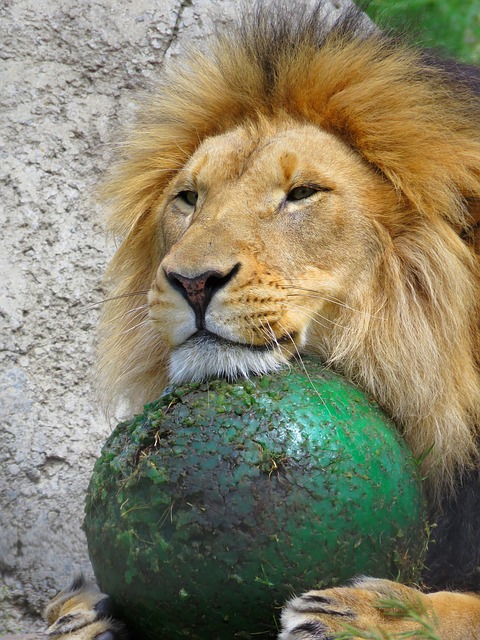
Rolling hay balls for horses are great enrichment items for pasture or stall. You can buy them in a variety of shapes and sizes. Hay balls made for horses are rugged and designed with horses in mind. The only downside is their price! They’re great for horses, but might be a little steep for the equestrian on a budget.
Enter the DIY hay ball for horses.
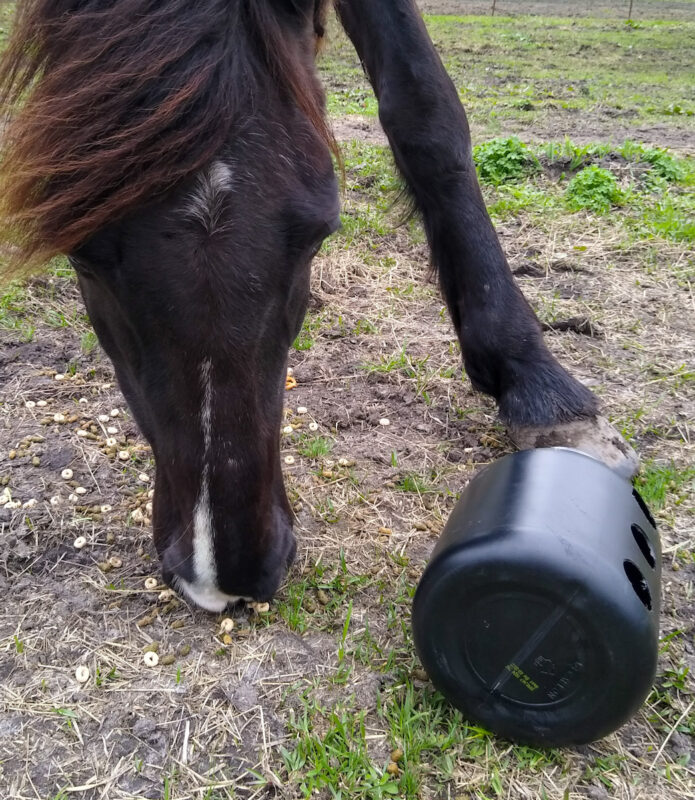
You can make your own with any big, hollow container. In this tutorial, we’ll make a DIY horse treat ball/hay ball out of a round plastic food canister. It’s more of a roller than a ball, but your horse will still love it!
The wide screw top lid that’s perfect for adding forage or treats. You add the holes yourself with a drill and hole saw attachment, and then put in whatever treats your horse enjoys – or fill with hay for a rolling slow forage feeder that promotes natural grazing behavior.
We also have a tutorial on repurposing an old rubber dog ball or Jolly Ball into a DIY hay ball for horses, so if you want something totally round don’t miss that article.
What Behaviors does the DIY Hay Ball Encourage?
The DIY hay ball enrichment keeps your horse moving and grazing naturally. A good forage based diet is a crucial part of good horse welfare. Hay balls for horse are great enrichment because they roll as your horse eats, encouraging them to move around.
With the DIY hay ball or hay roller, you might see:
- Problem solving
- Foraging and food seeking
- Movement
- Exploration and use of the senses
That’s a big list! The DIY treat roller ball encourages your horse to move in between bites of food, look for food and solve problems, and use multiple senses to figure out where the food is and how to access it.
A treat ball or DIY hay ball for horses is a superpowered enrichment item that lets your horse express natural behaviors in many ways.
Why the DIY Hay Ball for Horses Works
Horses are grazing animals that are adapted to eat at a slow rate almost all day long. Constantly available forage is so important for horses that it’s one of the main components of good horse welfare.
A hay ball, DIY or store bought, helps round out your forage routine. It’s a great addition to your horse’s pasture or stall along with hay nets and other slow feeding devices.
DIY hay balls for horses are extra useful because you can stuff them with food other than hay! There’s an endless variety of food options. Use your DIY hay roller with only hay or add in special goodies like apples, peanuts, or your horse’s daily grain.
Where Can You Use a Hay Ball?
DIY hay balls make great stall enrichment for horses. You can also use them in the pasture.
This DIY hay roller project uses free materials, so you can make several. Add several to your paddocks to provide enrichment for the whole herd.
How to Make a DIY Hay Ball
What You Need
- A large round screw-top jar or jug, preferably with a wide mouth
- A drill
- A hole saw attachment (featured here is a 1.25″ hole)
- Food to fill the roller with
Step 1. Find your Jar
First, select your jar or jug. You can use any large-ish, wide mouthed jar for this purpose. I found this protein powder jug in a recycling bin and snagged it immediately for horse enrichment:
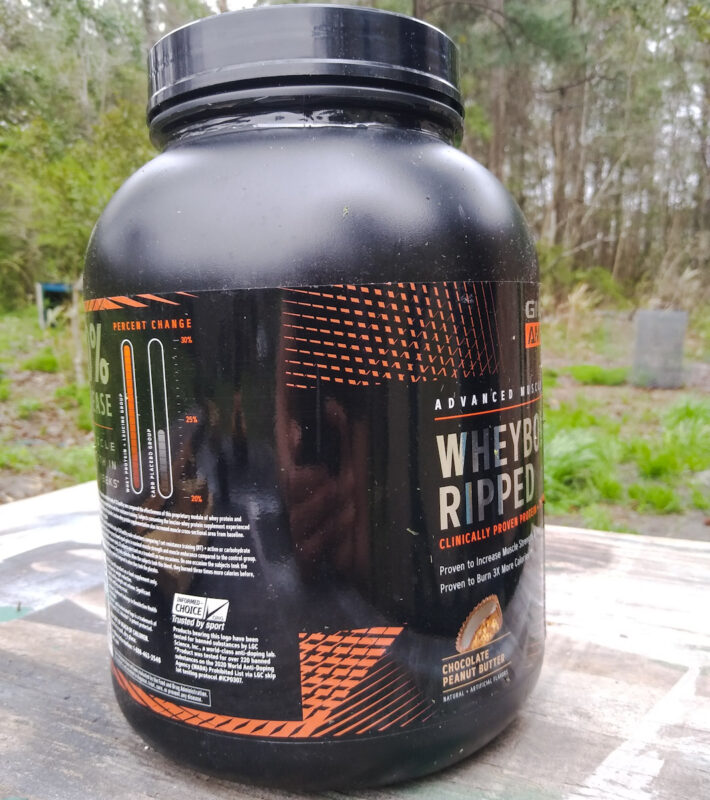
If you or your coworkers aren’t the bodybuilding type, a large peanut butter jar or similar will work fine too. Smaller jars won’t hold a large amount of hay but will be perfect for a smaller amount of grain or fruit.
Make sure the jar is plastic! It goes without saying, but metal or glass canisters will not work for this enrichment item. Also, only use food-grade jars, not anything that has held cleaning products or other chemicals.
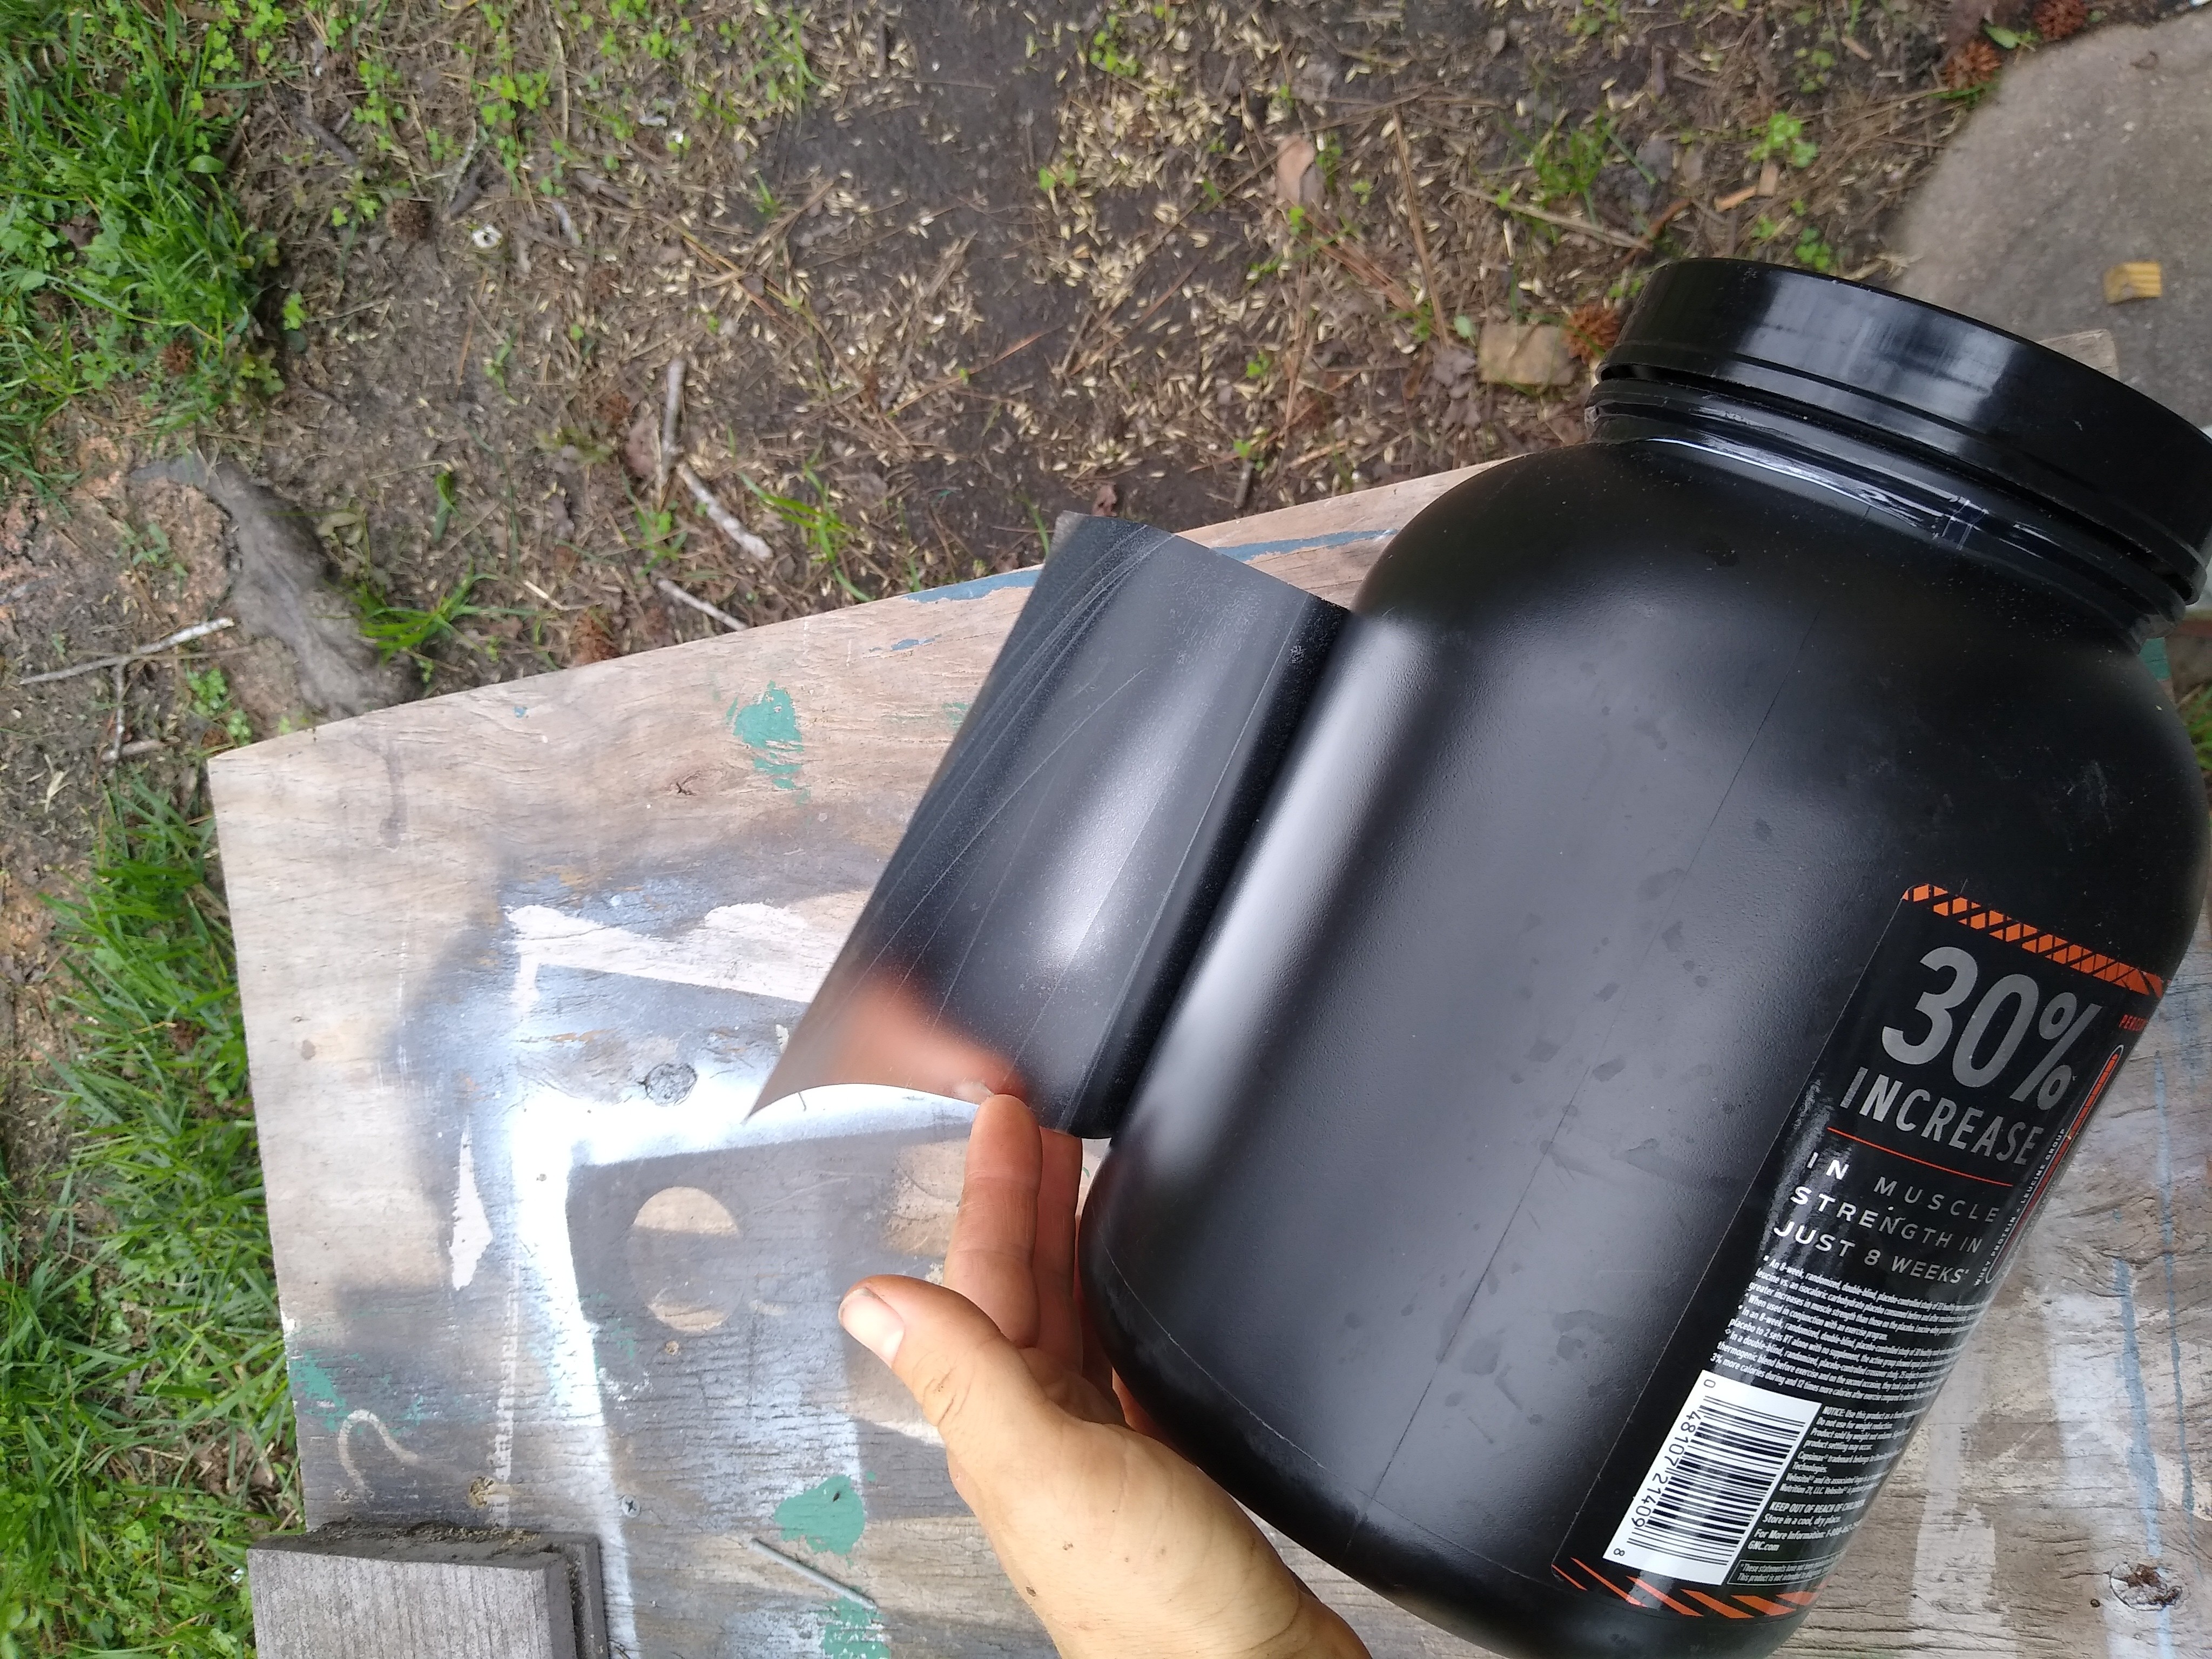
Rinse the jar thoroughly and remove the label as best as you can. This jar had the kind of glossy label that comes off cleanly. If your label doesn’t come clean, that’s fine – your horse won’t mind. Do remove most of the label if possible to prevent the horse from ingesting it if the label starts to slip off during play.
You can also use a small plastic barrel or bucket with any sharp edges sanded down.
Step 2. Plan and Mark the Holes
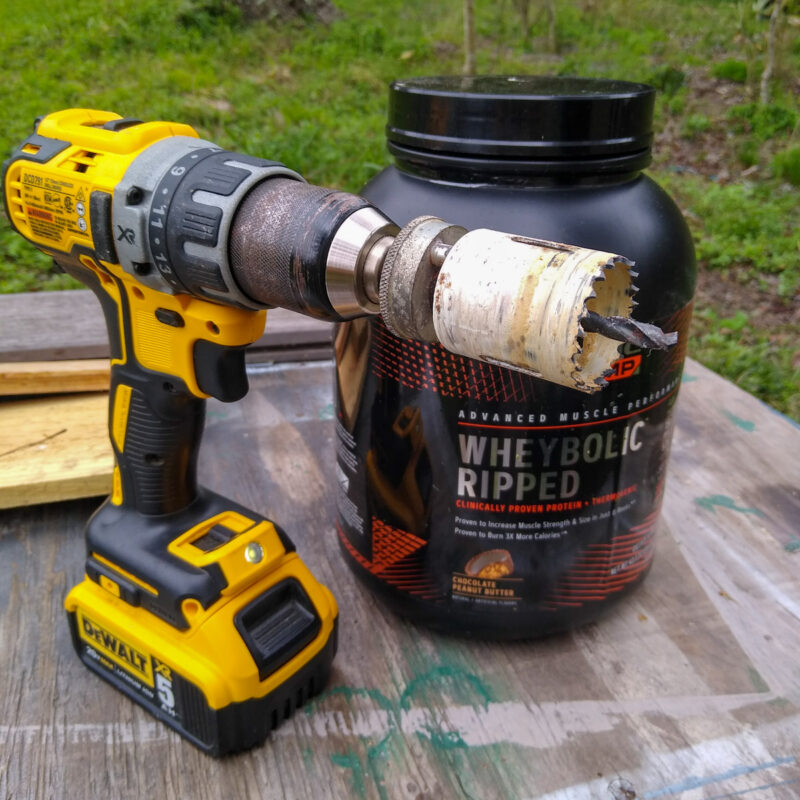
You’ll need a drill and hole saw for this step in the DIY hay ball instructions. You can also use a utility knife, but you must be VERY careful. Using a drill is faster, easier, and makes nicer holes.
New to hole saws? If you’ve ever used a drill to make a hole or install some screws, you know the idea. Hole saws work the same way. They come in different sizes and have a drill bit in the center that serves as a guide for the circular cutting teeth:
For the DIY hay ball, the size of the holes you cut will depend on how experienced your horse is with treat or hay balls and what type of foods you plan to use.
The model hay roller shown here has big holes. They’re wide enough that hay sticks out easily, which is important for teaching the horse how to get a reward from this enrichment item.
For more experienced horses that need more challenge, or for a treat ball with pelleted feed and grain, try a smaller hole diameter of 0.75 to 1 inch instead. Smaller holes create a more difficult and time-consuming treat roller and extend the time it takes to solve the puzzle.
Decide where you want the holes and mark with an easy-to-see marker:
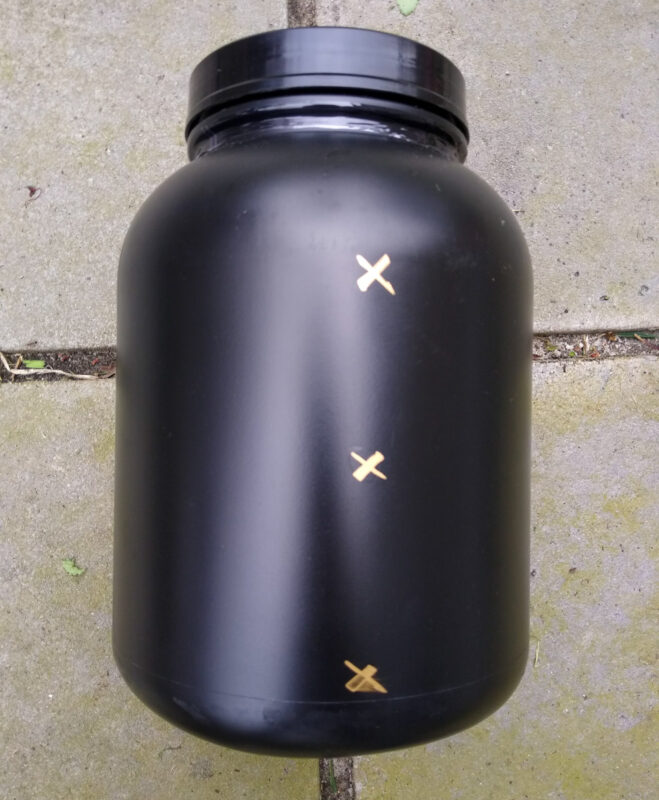
I wanted this item to be a foolproof introduction to treat rollers, so I decided to make three holes in alignment on either side of the jar. This way, as long as the horse nosed or pushed the roller at all, food would come out.
Step 3. Cut the Holes
You can cut the holes anywhere you like, and cut as many as you want. The fewer holes, the longer it will take for the horse to solve the puzzle. Remember to strike a good balance between challenge and difficulty in order to encourage natural behaviors and fun interaction without frustration.
Brace the jar in a bench vice if you have one, or between your knees if you are as low-budget as me:
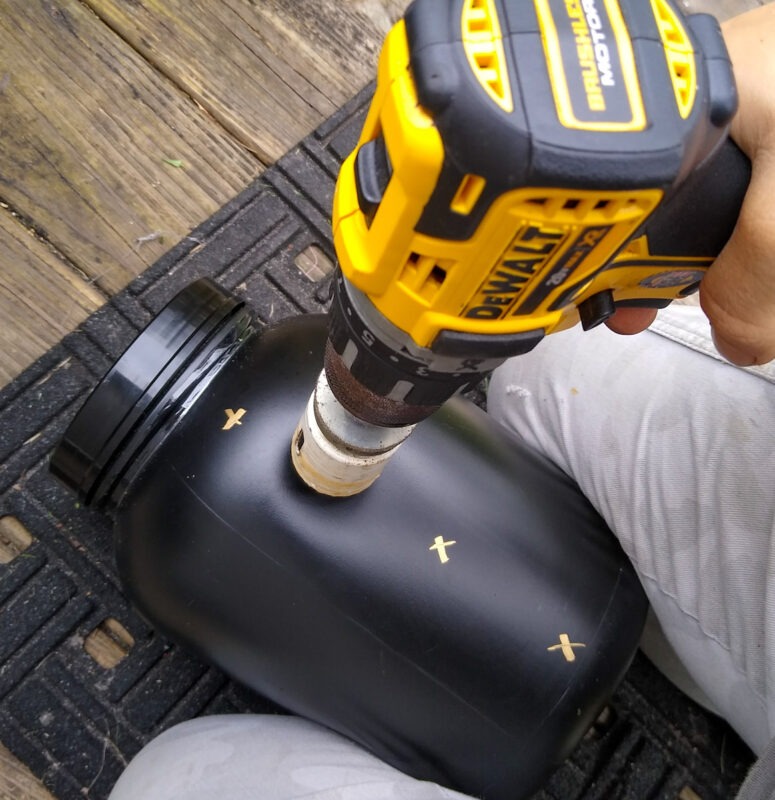
Gently but firmly place the pilot bit against the area you marked and begin to drill. Increase the speed when the bit begins to make a hole in the jug. With all power tools, make sure to use proper safety equipment and work cautiously. Blasting your drill up to full power is a good way to have it travel off the jar instead of cutting cleanly, or kicking and cracking your jar when the hole saw’s teeth meet the jar.
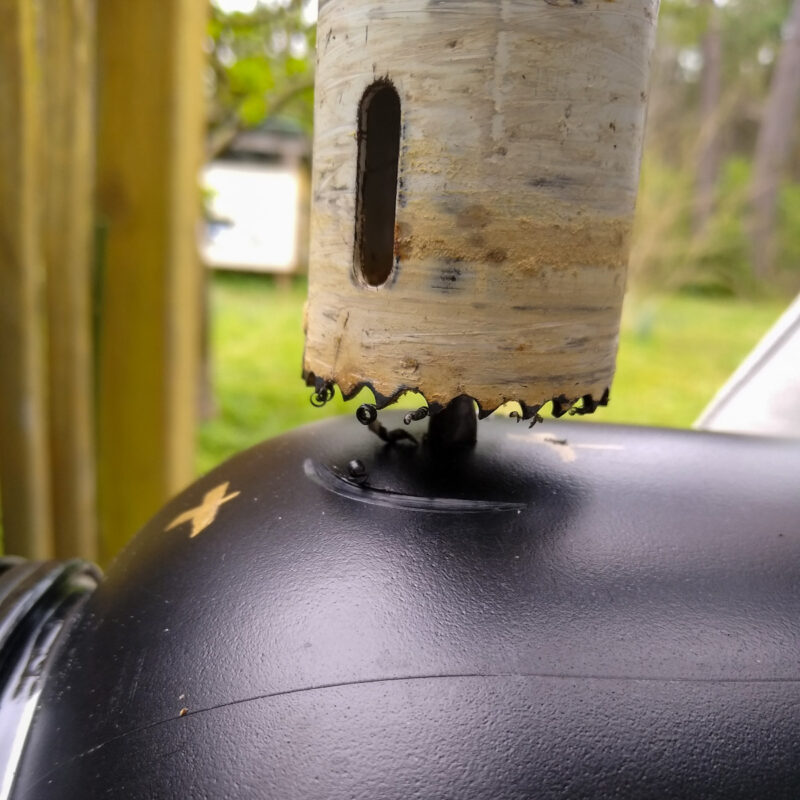
When all the holes are cut, clean up the edges of the holes with a knife or nail file to remove any plastic threads.
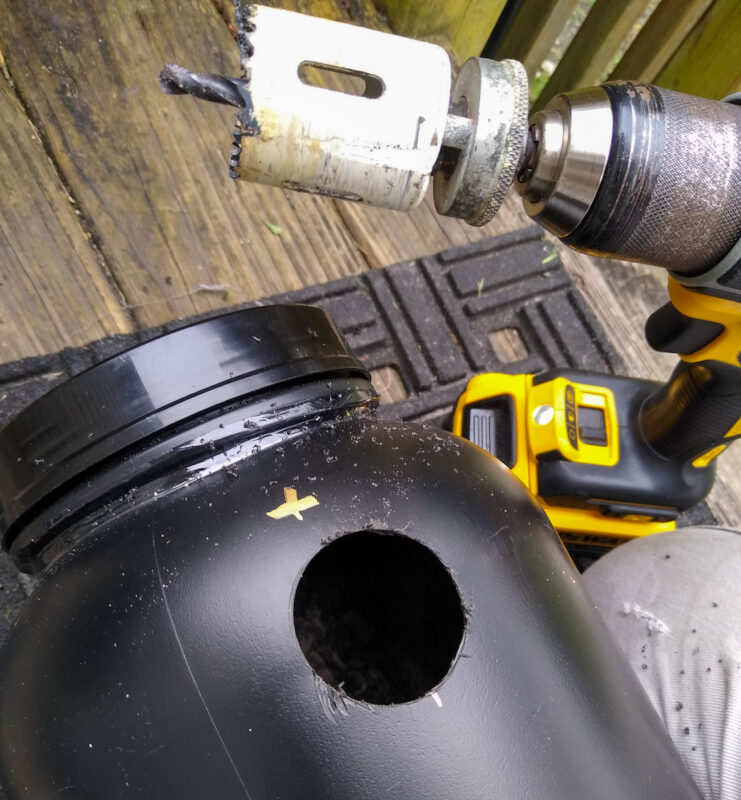
Now, the fun part: loading your DIY hay ball with hay or goodies!
Step 3. Add Food to the Hay Ball
Hay and chaff are perfect for this DIY horse toy, of course. You can also mix in healthy fruits and vegetables, or use hay pellets. If you have a clear patch of ground and food waste won’t be a problem, you can offer your horse their concentrate or grain ration in the roller. Feeding this way rather than in a bucket is an engaging and fun meal experience that extends feeding time.
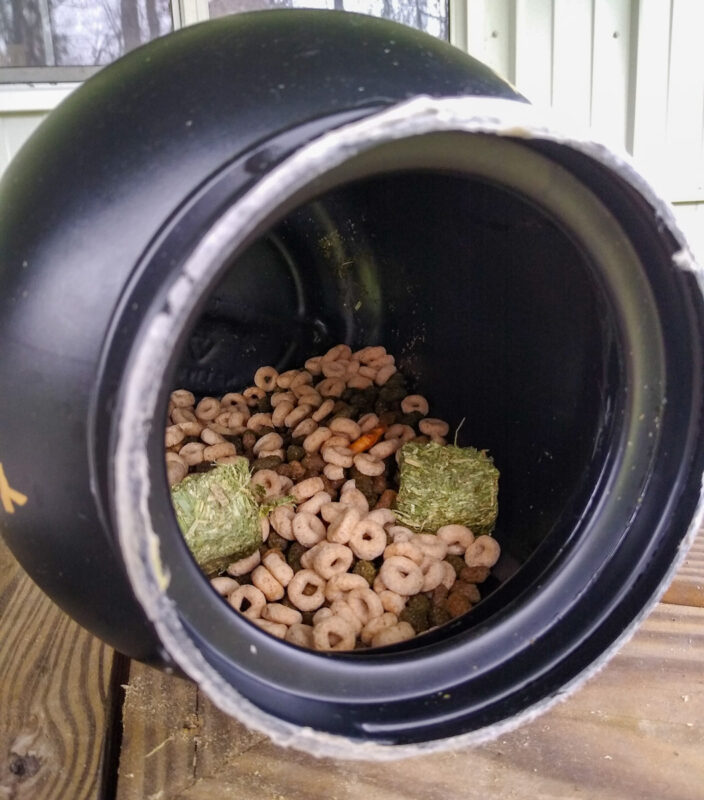
Here, I chose a variety of food items, some big and some small:
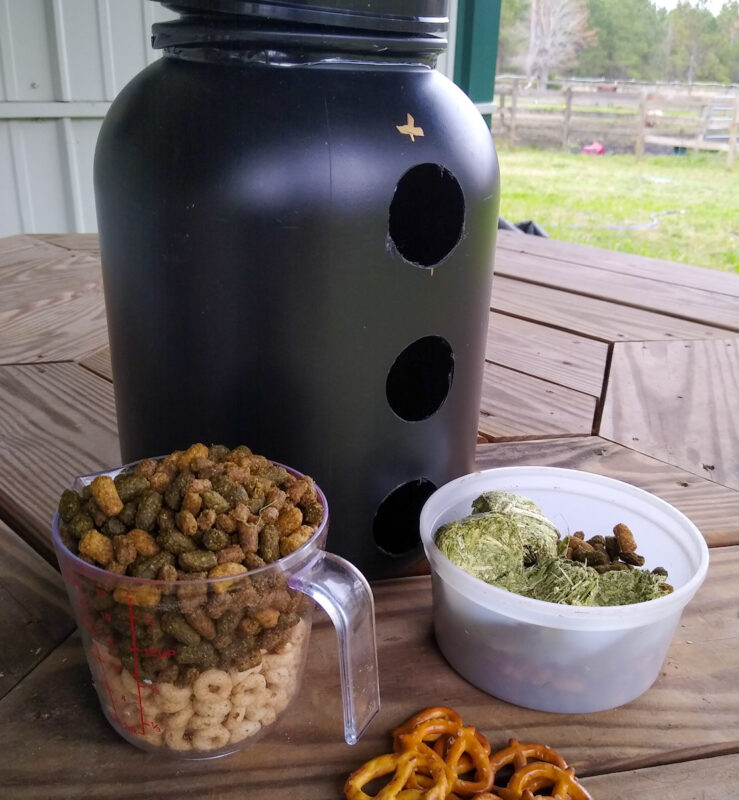
There’s a handful of unsweetened whole-grain Cheerios, some of the horse’s normal pelleted feed, a few mini-sized hay cubes, and a couple of small pretzels.
Unscrew the lid and add the treats (be careful that the holes are facing upward so that all the food doesn’t just fall right out). Close everything back up again. When adding forage, stuff the DIY hay ball tightly so that each bite of hay pulls the ball around a little.
Then it’s time to offer it to your horse and watch for their reaction! If you made this treat roller easy, like the one pictured (or if your horse is used to Hay Play balls or similar), they’ll probably go right for it. If they’re new to rolling treat toys, you might need to put a few freebie treats on top of the roller or next to it on the ground. When they explore, they’ll nudge the roller and figure out that food is inside.
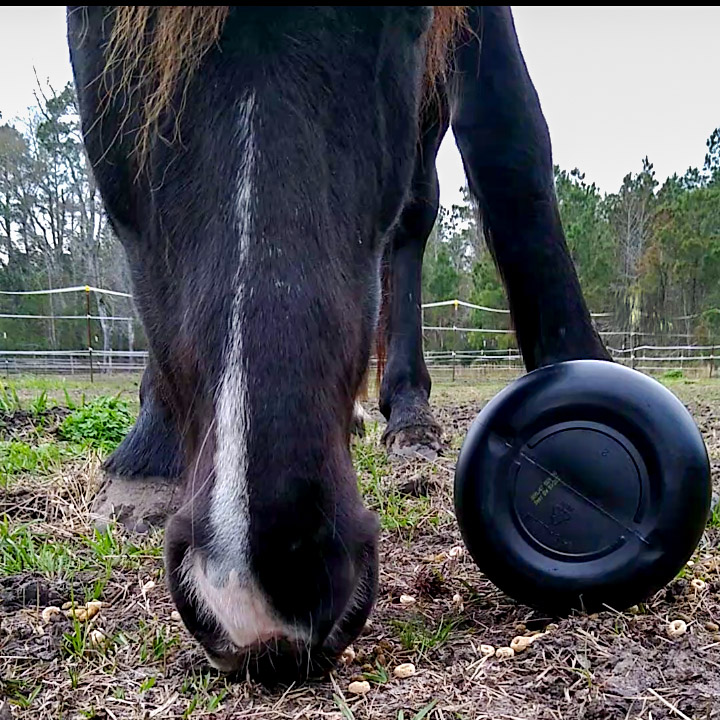
Safety Notes for the DIY Hay Ball
This is a safe horse enrichment item, but it’s always good to keep a few safety points in mind:
- Check for cracks or chips in your roller each time you use it. Don’t use toys that are damaged.
- If you crack the jar while drilling the holes, discard it and use another jar.
- Always supervise your horse at least the first few times you use the roller to ensure that they enjoy it safely.
- Clean the jar after each use and make sure that no food, especially fruits and vegetables, is left inside to spoil.
Related Enrichment
The DIY hay ball for horses is a food-related enrichment item. Here are similar ideas to explore:
Use a Jolly Egg for a unique DIY treat ball
Bucket Lid Hanging Forage Toy
The Complete Guide to Using Hay Nets for Horses