Fresh green grass is the stuff of dreams for most horses, but what grass is scarce or your horse can’t have hours of pasture? Enter sprouted grain for horses! This special live grass treat is an easy barn DIY that your horse will love. You can also scale it up for DIY fodder production – possibly reducing your feed bill. Here’s how to make and enjoy sprouted grains for horses.
What is Fodder and Sprouted Grain for Horses?
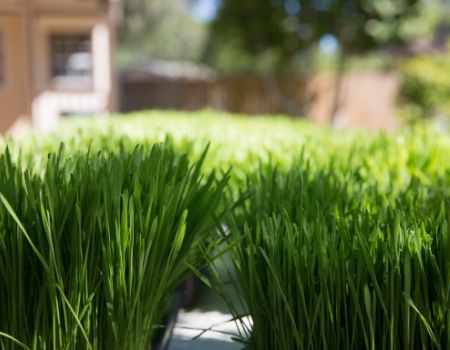
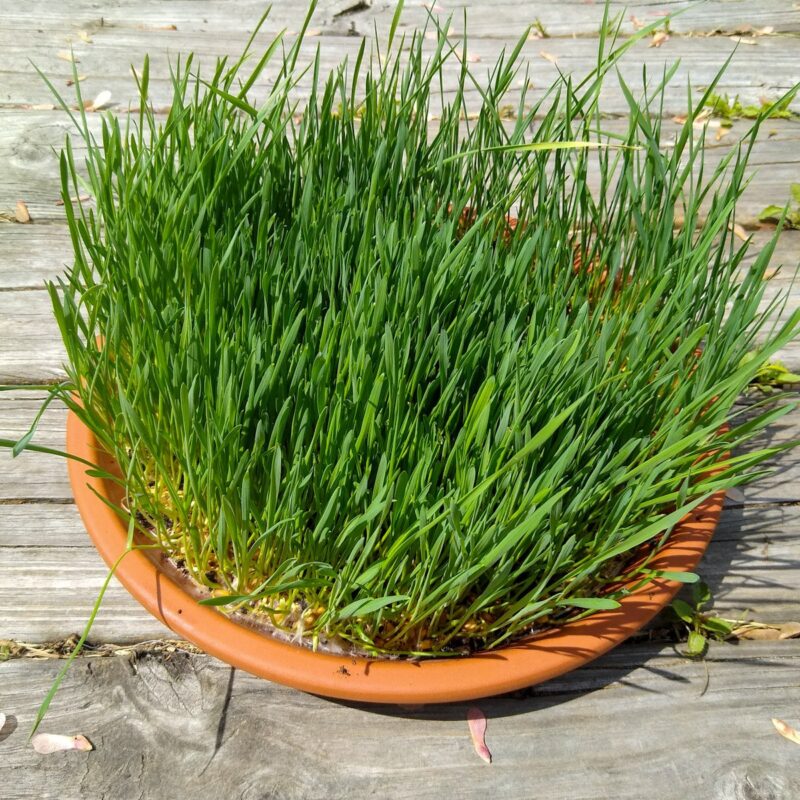
By sprouting seeds in a flat tray or container, you can make a plate of living, freshly sprouted grass or other young plants. Sprouted grain or grass is also called fodder.
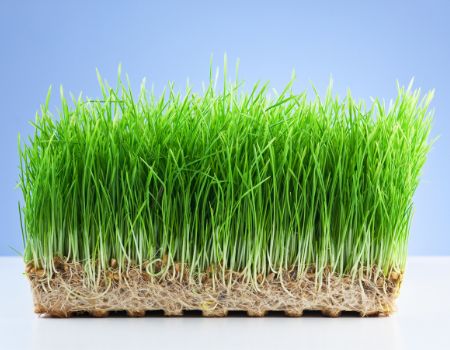
Fodder is the entire mat of sprouted grain, including its leaves and roots. The roots form a thick mat in the bottom of the growing container. The entire piece – root mat and leafy sprouts – can be fed to livestock.
Fodder is grown at scale in some farms. You can scale up the method shown here to make large batches of fodder for your horse, so continue reading for more info or jump to the bottom for the fodder recipe.
The small fodder plate shown here is a special enrichment experience that your horse will really appreciate. And it only takes a few days!
Almost any horse can enjoy fodder. It’s a good source of forage, including for horses on a forage-based diet.
Horses love freshly sprouted grain even if they normally live on rich pasture – and it’s a huge hit with horses on limited turnout or grassless paddocks.
Can Horses Eat Sprouted Grain or Fodder?
Sprouted food is definitely having a moment as health food for people. But can horses eat sprouted grain?
Horses can eat fodder. The amount you choose to feed depends on how much you produce and your horse’s needs.
Fodder has some nutritional advantages over dried hay, and some horse owners may find that it’s cost effective as well as nutritious. For a deeper dive into the nutrition of fodder, visit this article from Kentucky Equine Research (after you’re finished reading this one!)
Sprouted grains for horses are easy to grow. The process is similar to sprouting your own seeds for microgreens or smoothies. But instead of a growing containers or trays, but this DIY we’ll use a terracotta saucer!
It simplifies the growing process and you can feed this fodder treat straight from the saucer.
If you’re scaling up fodder production, you’ll probably want to use plastic greenhouse trays like those featured in this article on starting plants indoors for your equine herb garden. Just take the mat of greens out of the trays before feeding.
DIY Fodder: Diet or Treat?
As feed costs rise, you may wonder whether it’s okay to feed home-produced fodder as a larger part of your horse’s diet.
Fresh, clean fodder is a good source of forage for horses.
Because it’s a fresh food, fodder or sprouted forage grain has higher levels of some vitamins than dried hay. It’s also a good source of water just like pasture.
The amount shown in this simple DIY fodder project is great for a small treat. If you want to scale up, consult your vet before making any major diet changes.
Why Is Sprouted Grain Good for Horses?
This sprouted grain bowl is a great boredom-busting enrichment activity.
Enrichment for horses is all about encouraging natural behaviors. This activity gives your horse the chance to eat real, green grass.
Plus, sprouted grains for your horse provides sensory stimulation and variety.
When you grow a dish of fresh green sprouted grains, your horse gets to enjoy all of these:
- Feeding and foraging (especially grazing)
- Sensory behaviors (taste, touch, and smell)
- Response to novelty – experiencing new tastes and textures
Sprouted grain is a change of pace from the standard pile of hay or bucket of feed, so it encourages your horse to think and experience changing situations.
How to Make DIY Fodder
DIY Fodder for Horses Quick Steps
Here are the basic steps for a quick small scale batch of fodder for horses. Below, read through each step for detailed info.
- Pick your fodder grains.
- Soak the grain in water.
- Place the seeds in the growing container.
- Keep the seeds moist or flush them daily with fresh water.
- Feed out when the grains have sprouted into a thick mat of fodder.
Supplies For DIY Fodder for Horses
What you’ll need (Saucer Version):
- 10 inch terracotta saucer
- 12 inch plastic saucer
- Clean, untreated seed of horse safe grass or grain – about 1/2 cup for the saucer size in this post
- Water
What you’ll need (Large Batch Version):
- Greenhouse flats without holes (find them here on Amazon)
- Greenhouse flats WITH holes (find them here, or punch holes in some of the hole-less trays)
- Clean, untreated seed of horse safe grass or grain – about 1/2 cup for the saucer size in this post
- Water
- Warm location like an insulated shed or side room (drain access is a plus)
Optional Supplies:
- Grow lights (helps get the most lush, green top)
- Misting bottle
- Soil
- Newspaper
1. Select the grain or seed to sprout.
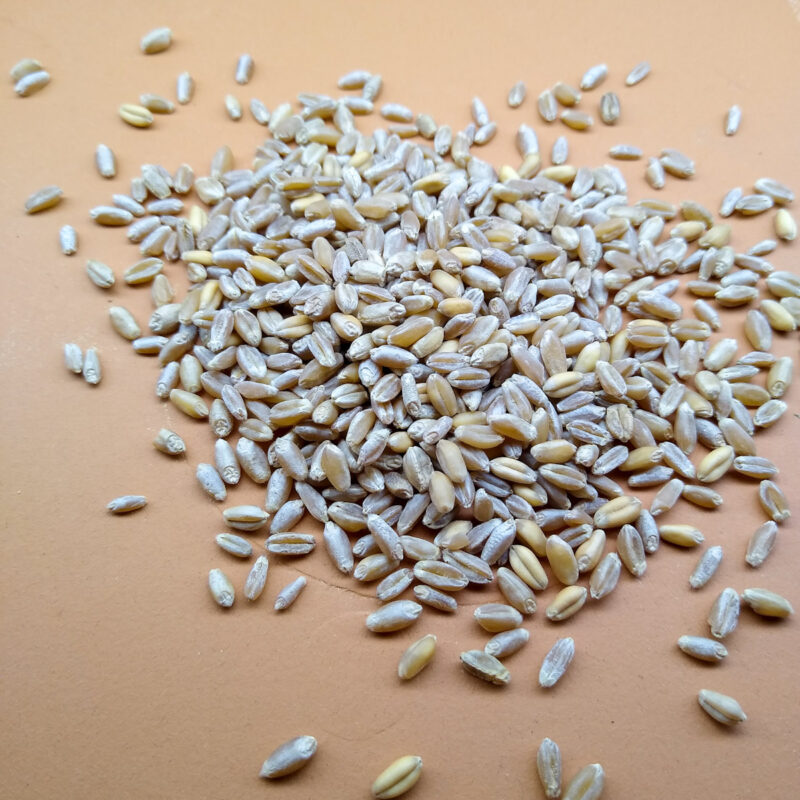
Any of the whole grains sold in your local feed store as horse feeds can be used for sprouting purposes.
At feed stores, seed is usually sold in large quantities such as 50 lb sacks. If you don’t want to deal with that much grain, you can source small amounts of grains or seeds from a local grocery or health food store. For this tutorial, I picked up about a pound of organic wheatberries from a local shop.
Good grains to use for DIY fodder or sprouted grain bowls are:
- Barley
- Wheat
- Rye
- Oats (a little harder to germinate – start with barley or wheat first)
If you’re looking to scale up fodder production as a farm project, source your grain from agricultural stores or retailers that cater to the homesteading/self sufficiency community.
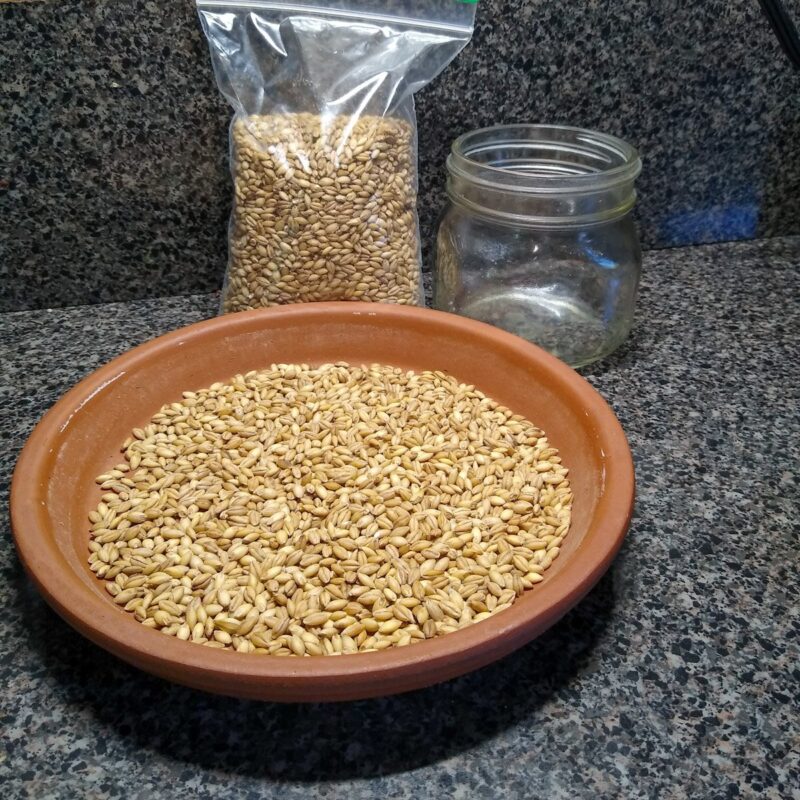
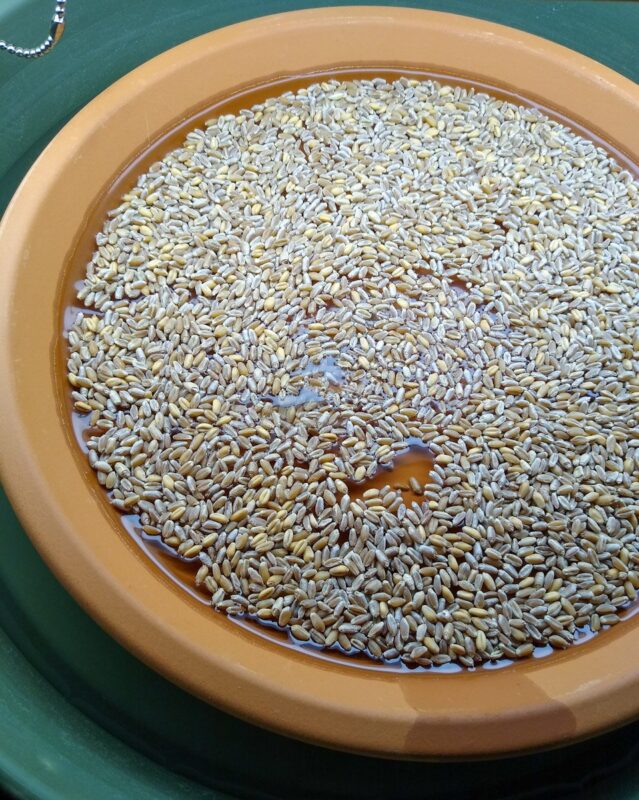
2. Soak your seeds.
Many grains or other seeds do best with a soak in water before going into the sprouting container. This helps them sprout much more evenly and consistently.
The length of time that each grain should soak can vary by species, with some needing only a few hours in water and others taking about a day. A 12 to 24 hour soak is good for most kinds of grain.
Place the grain or seed in a clean container, cover the grains with water and then leave undisturbed. Then gently pour off the water, rinse your seeds briefly with fresh water, and move on to the next step – the sprouting saucer or tray.
If you’re scaling up for a whole stable or using fodder for horses as a pasture alternative, you may choose to omit the soaking stage. Instead, the plant trays will have water in them from day one. You can also use food grade buckets for larger quantities of grain.
3. Set up the sprouting container.
To grow small quantities of fodder for your horse, use the small scale saucer method shown below. For scaled up home production, scroll below for the tray-in-tray method.
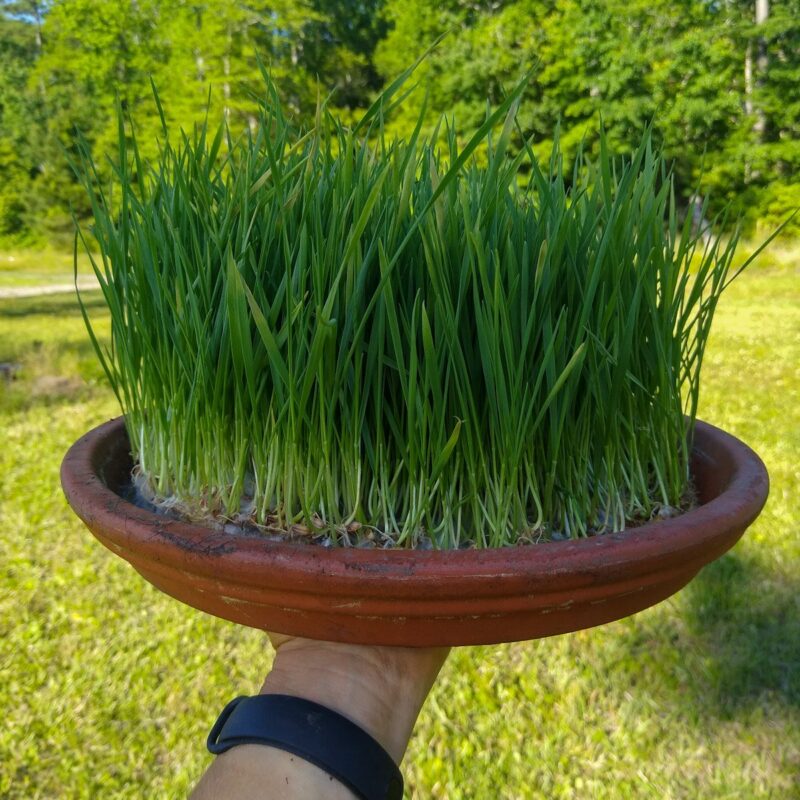
For this method of sprouted grains for your horse, you’ll need an unglazed terracotta saucer and a plastic or glazed saucer. The plastic saucer should be slightly larger than the terracotta one. The porous terracotta saucer will rest inside the water-filled plastic saucer.
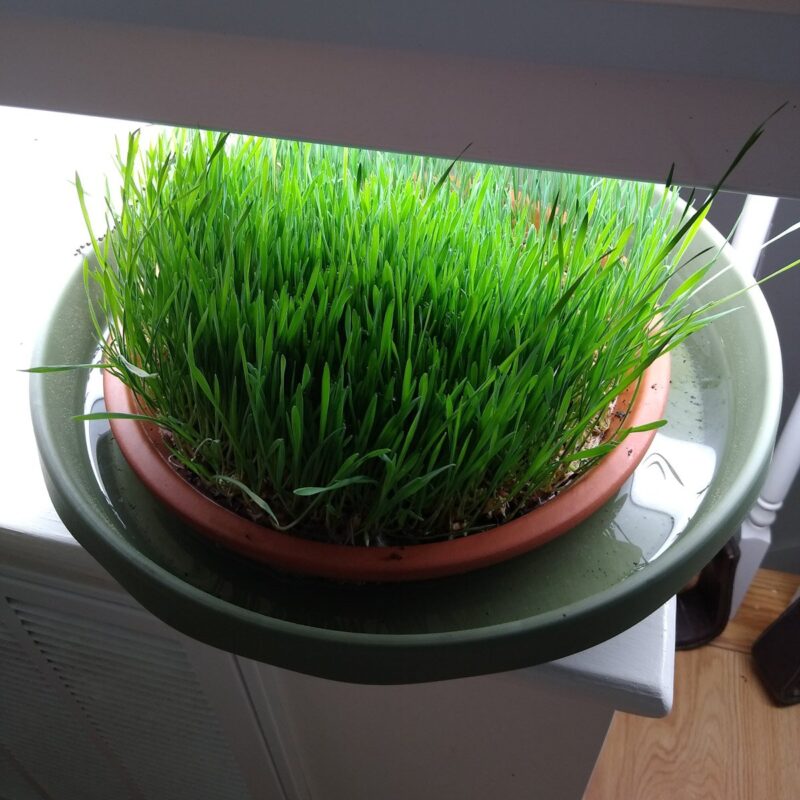
You’ll place the seeds in the terracotta saucer. I like this method because the terracotta, a porous fired clay, absorbs water from the saucer below, which helps to keep moisture levels consistent. Correct moisture is they key to good sprouting.
Too much water results in drowned seeds and mold, and too little prevents your enrichment grains from sprouting and growing. The saucer-in-a-saucer technique shown here helps keep things nice and even as the grains sprout and grow.
Scaled up method:
Use two greenhouse trays nested inside each other. The bottom tray has no drainage holes, the top tray DOES have holes. The upper tray holes the growing fodder for your horse while excess water drains into the tray beneath for daily change-out.
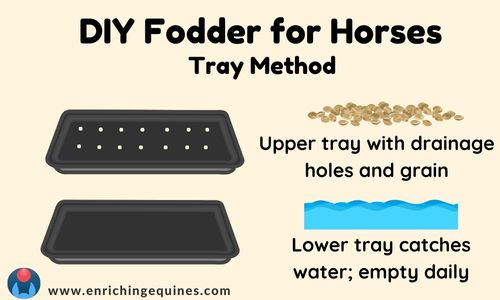
Some methods of producing fodder for horses and other livestock involve more complex, self-watering systems connected to plumbing and drains. This is the best solution if you really want to invest in a fodder producing operation, but for most stables the simple tray method is more than enough.
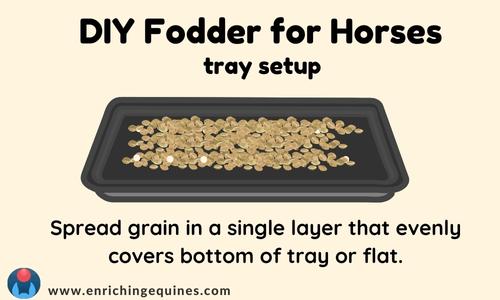
4. Add the Seeds
When both the seeds and the terracotta saucer have soaked, rinse the grain gently and spread it in a single layer in the saucer. You want the grains touching but not overlapping.
Some greens sprout better when covered with a layer of newspaper to block out light. You may want to cover your enrichment grains until they have begun to grow their leaves and roots.
I like to cover the grain until it sprouts, then put the saucer under LED grow lights (I use LED shop lights from Amazon).
DIY fodder production is extra neat because it’s soilless. You don’t need dirt or potting mix, making the process simple and clean. The roots of the growing grains create a dense mat and support one another as they grow.
Scaled up method:
Spread the soaked seeds into the greenhouse flat and nest inside the second, nondraining flat. If desired, cover with newspaper (I’ve never seen a difference in sprouting rates, personally).
Don’t overdo it on the amount of seeds in your DIY fodder trays. A single layer is plenty. Add too many and the grains won’t grow as well.
5. Water the DIY fodder (and watch it grow!)
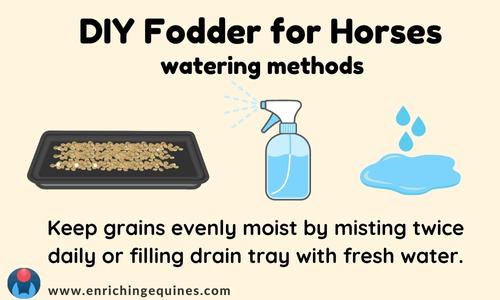
Now let your grain sprout and grow! If you’re using the small saucer method, check the seeds twice a day and refill the water in the bottom saucer or mist if they seem a little dry.
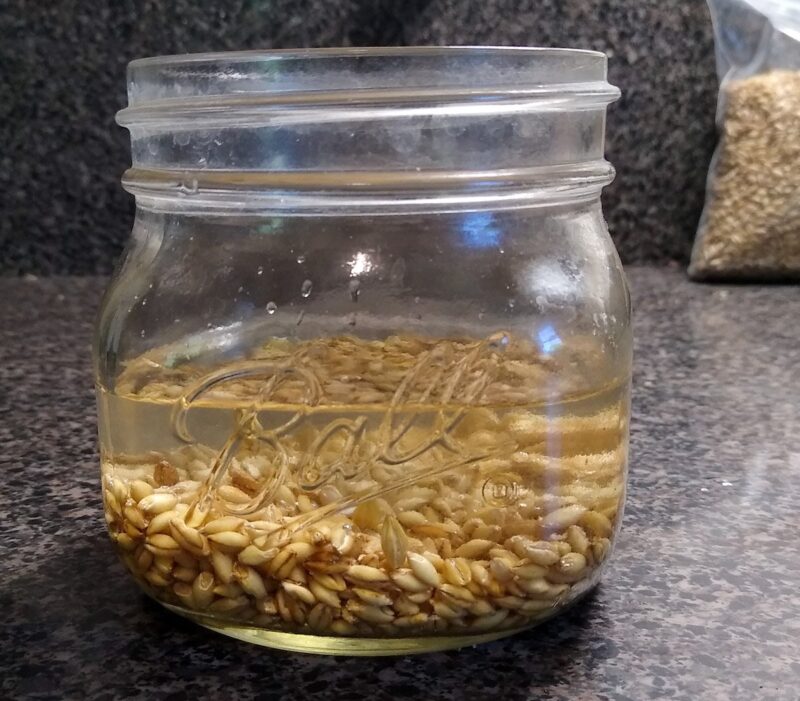
It won’t take long for your DIY fodder experiment to take off. You’ll start to see the roots emerge first – fluffy white edges on the roots are normal and a very good sign. Mist or water once a day during this time.
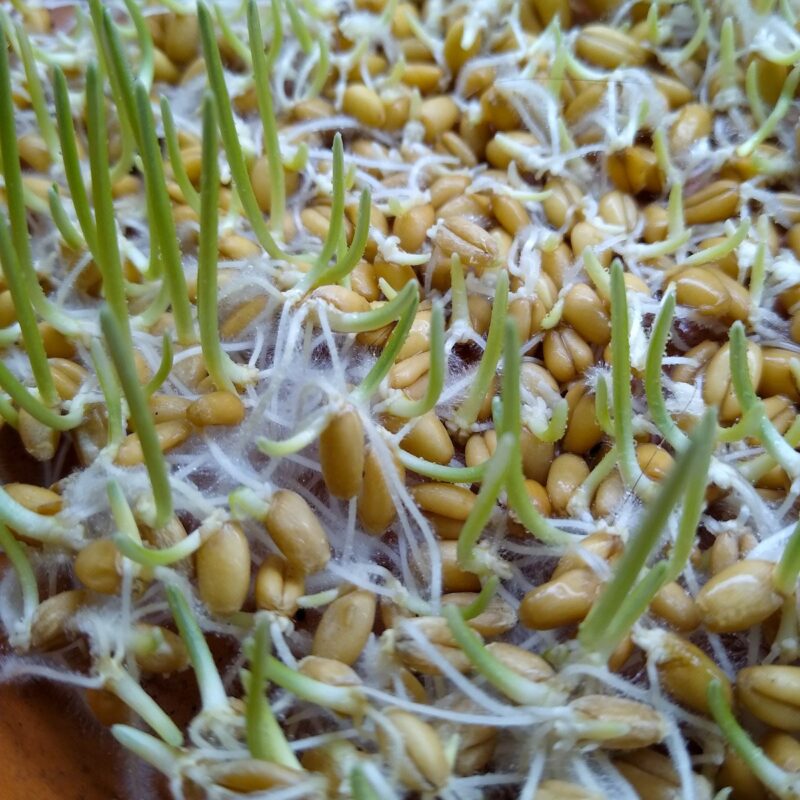
If you overdo it and end up with standing water, hold off additional misting until the moisture level is back to normal. After a few days, the leaves will begin to emerge (they will be yellowish at first and then green up). If you covered your seeds with newspaper, this is when to remove the paper.
The map of sprouted grain can be offered to the horse at any time, but it is most appealing when the grass mat has developed a thick green top. This takes from about 5 days to a week, depending on the grain. Once the seeds have sprouted, all you have to do is wait, check, mist, and repeat until you want to give the grass to your horse.
Scaled up method:
Water your DIY fodder trays once a day. Don’t let standing water accumulate or the seeds may take on too much moisture and drown! Misting works best, with just enough moisture in the bottom tray that the grain stays slightly moist.
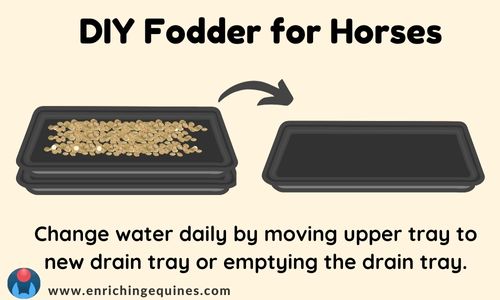
For bulk production, use two sets of bottom trays. Each day, move the flat with the growing fodder into a fresh base tray and water lightly. Dump out the drain trays and use them the following day (you can also just remove the top tray, dump, and put it back).
Feeding DIY Fodder to Horses
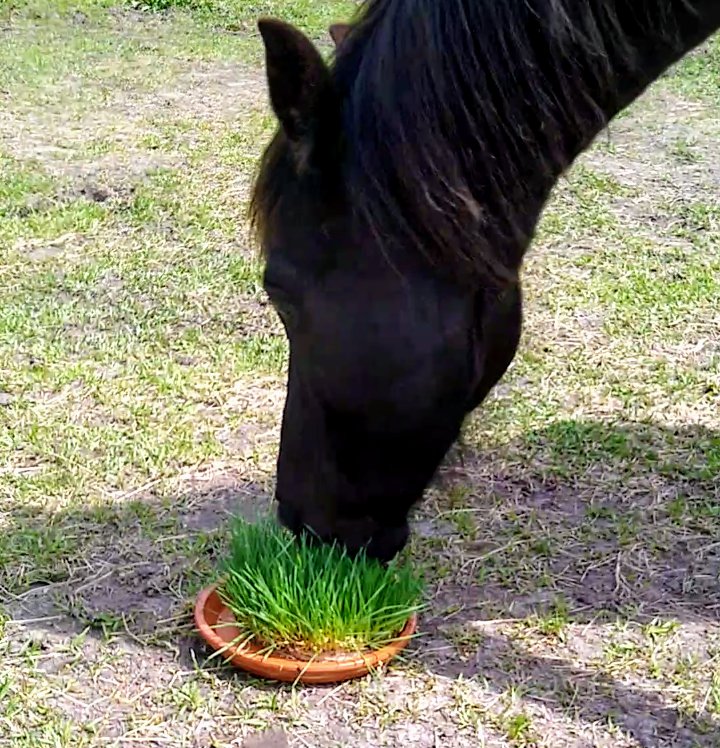
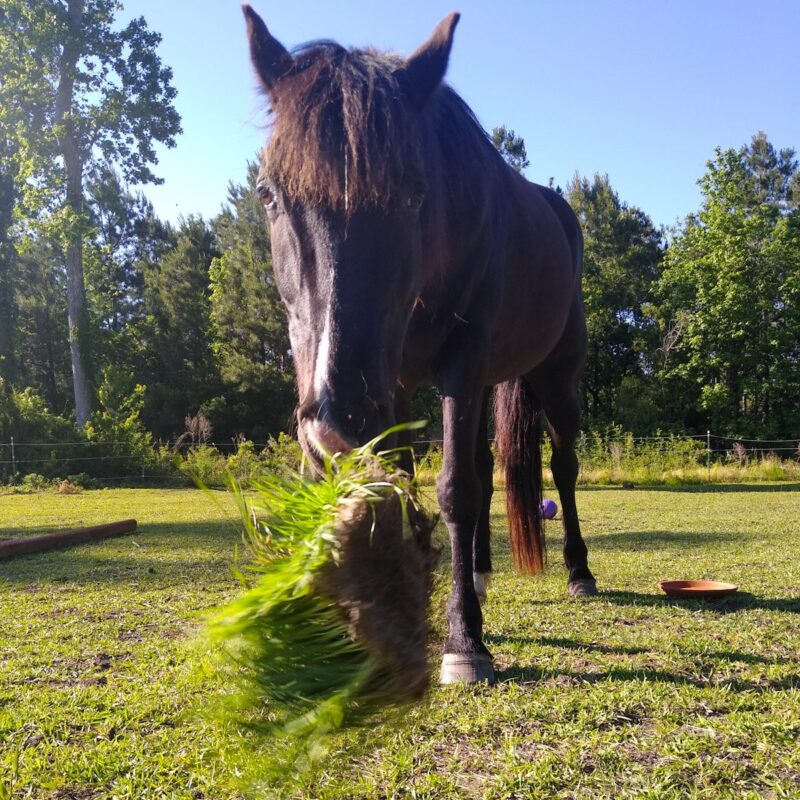
The simplest way to enjoy the sprouted grain horse enrichment is to give your horse the whole bowl of grass! If you’re using the saucer method, this works great for many horses.
You can cut or tear the mat of grass into sections, or remove it from the terracotta and put it in a feed pan or other container. If you used a big saucer, you can cut out a portion for each horse in your barn.
The first time I used DIY fodder as horse enrichment, I found that the grass didn’t stay in the saucer. Since I didn’t use soil, the whole mat of sprouts came right up and created a different, but awesome, enrichment activity: it turned into an edible toy!
Sprouted grain is appropriate for any horse who can chew properly and is able to have pasture grass. You can offer it up to several time a week if your horse really enjoys it and can have that amount of grain/grass, but growing the saucers does take daily work.
If you want to give sprouted grain to your horse as a treat more often or you plan to scale up production, you’ll need to soak and set new seeds regularly, even daily if you want to use fodder as a main source of forage.
To scale up for a whole barn full of horses, consider using plant nursery trays. These are pretty useful even if you only have a few horses. I invested in heavier-duty solid plant trays a few years ago and have never looked back – you can use them for starting your own plants or for a horse enrichment garden.
Horses and Sprouted Grains Safety
If your horse is restricted from having fresh grass as pasture, consult your veterinarian before giving them fodder or sprouted grain. The amount of grain/grass eaten in this enrichment is very small compared to even a brief period on pasture, but it is a bowl of fresh grass.
Use only clean, food grade seeds for sprouting. If using pasture grass seed, ensure that it isn’t coated, treated, or sprayed with substances such as herbicides or fertilizers.
If your seeds mold, discard the batch and start a new one. Never feed any mold-contaminated food to your horse.
Start small with sprouted grain for your horse – grow a little saucer first (plus: those are really inexpensive!). All changes in diet, including enrichment additions, should be done slowly and gradually.
If you want to leave the sprout container in with your horses, make sure that the container holding the sprouts is horse safe – terracotta isn’t the best material for this because it can break into sharp pieces if stepped on. You can sprout the grain in a feed pan rather than terracotta if you prefer. If you’re offering this enrichment with supervision, or plan to leave the grass but remove the saucer, terracotta is fine.
More Food Enrichment Ideas
Your DIY fodder can be fed as-is, but works perfectly with these enrichment items: