There’s more to enrichment than horse toys and puzzles! Pasture add-ons make your horse more comfortable and add variety to their environment. This DIY sand station for horses is great for equine self care. It gives your horse a comfortable place to roll and nap. It’s easy to make and makes a great addition to any pasture – a perfect place for some seriously satisfying rolls and blissful naps in the sun.
What’s a DIY Sand Station for Horses?
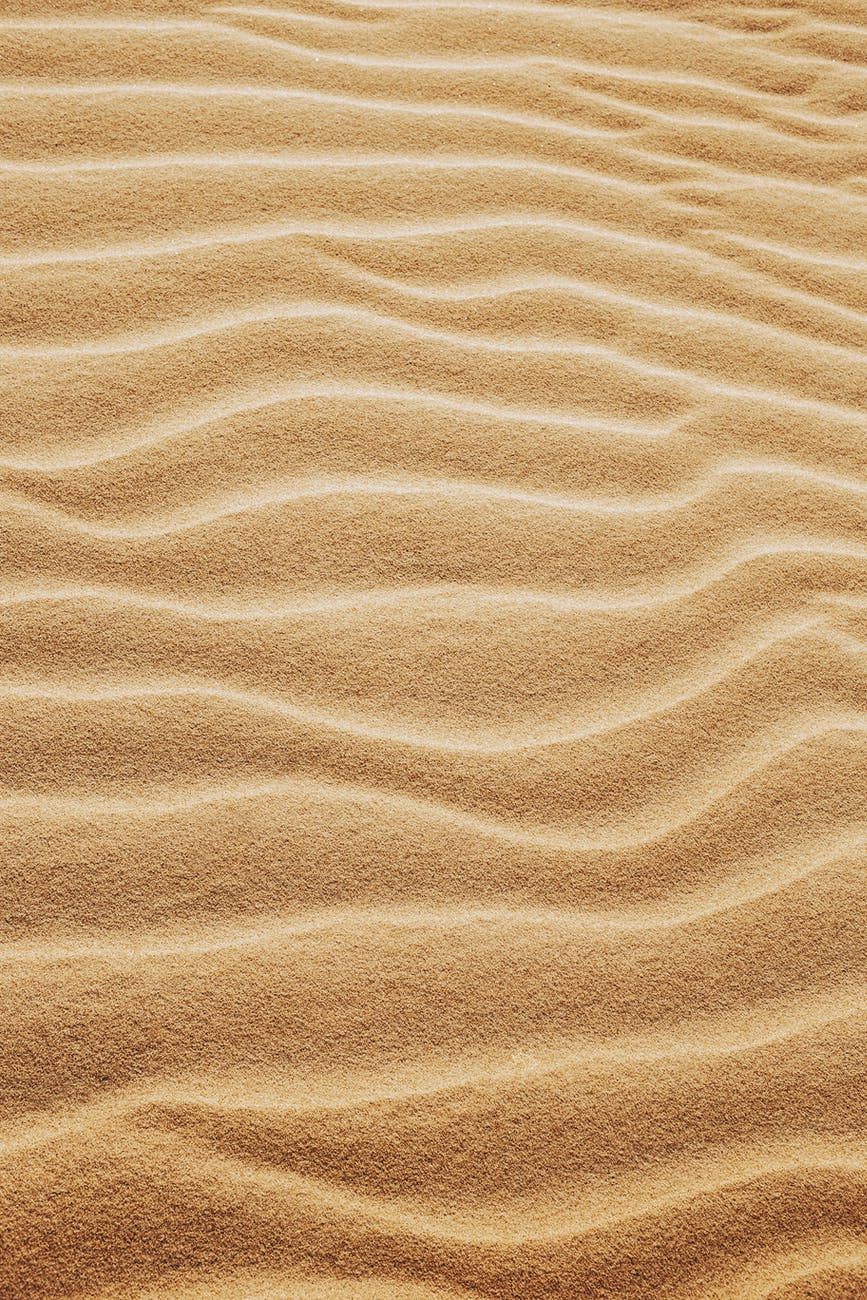
The DIY sand station for horses has lots of other names: pasture bed, horse bed, nap station, or rolling station. It’s a patch of sand or other special, soft bedding that you add to your horse’s pasture.
This piece of pasture furniture is enrichment for your horses. It lets your horse meet their own needs and engage in equine self care, and adds variety to the pasture. The DIY sand station is a zone that encourages horses to lie down and roll, or stretch out for a restful nap.
Unlike toys and puzzles, the DIY sand station is a permanent, one-time project. It’s a single investment in work and supplies that your horse can use whenever they like. Once you build it, the DIY sand station adds enrichment to your horse’s environment all the time.
The Behaviors Does the Sand Station Encourage?
The DIY sand station gives your horse a place for self maintenance. These are the behaviors horses do to take care of their physical needs. Add a pasture bed/sand station to your pasture and you might see:
- Self maintenance (rolling, shaking, grooming)
- Resting and sleeping
- Sensory behaviors (feeling the sand and relieving itches)
Why the DIY Sand Station is Great Horse Enrichment
This multi-purpose enrichment structure can give you a lot of mileage for your time and effort. Enrichment for horses is all about encouraging their natural behaviors, and this piece of pasture “furniture” provides a perfect opportunity for your horse to enjoy some behaviors that are important, but often overlooked.
Feeding and foraging-related behaviors are some of the most common (and fun!) behaviors encouraged by enrichment. Play, exercise, and sensory stimulation are close seconds. But self maintenance behaviors – the way that horses keep up with their bodies’ physical needs such as grooming and rest – don’t get as much attention.
Horses perform self care in a variety of ways, including by grooming and other coat-maintenance behaviors, and by resting throughout the day.
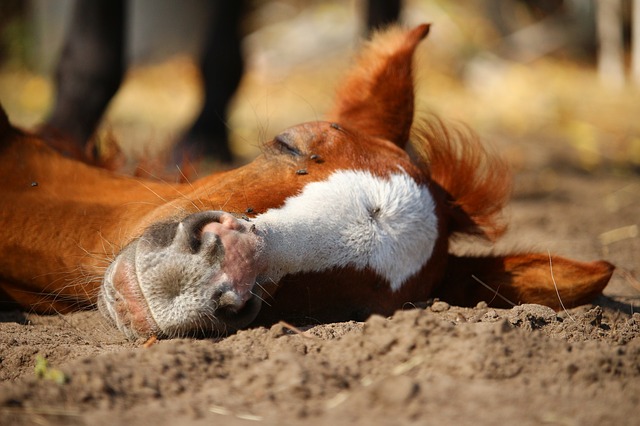
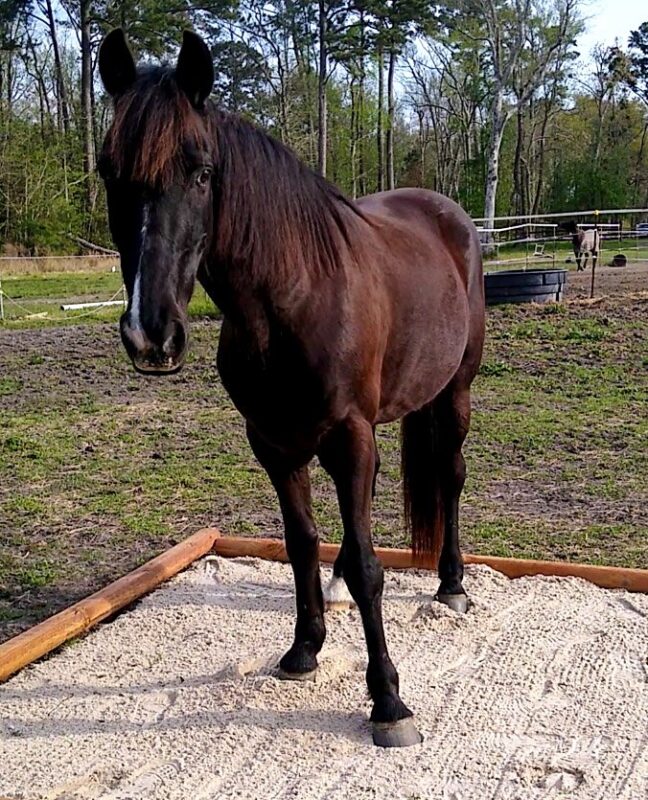
The DIY sand station is great horse enrichment because it promotes equine self care. It provides an ideal place for a horse to roll in order to stretch and keep their skin and coat in good shape. Its soft surface, usually a few inches of sand, makes a perfect spot for a nap, especially for horses who need a little more cushioning on their joints as they lie down.
How to Build a DIY Sand Station for Horses
Let’s take a look at how to build a DIY sand station, step by step.
Where to Put the Sand Station
First, take a look at your pasture and identify the place where you want to set up the rolling station.
This is a generously sized, permanent structure. It’s important to put thought into the location. If there’s a part of your pasture that the horses already use for lounging or napping, that might be a good place to set up the station. Your horse will already be accustomed to rolling or napping there and will use the station more readily than if you put it in a location that they prefer to use for other purposes, like eating (or manuring).
Plan to place your square well away from fencing. It isn’t as comfortable for horses to roll if they worry about knocking into a fence, especially an electric one.
Your how will enjoy the sand station more it’s clear of obstructions. This also keeps your horse safe, because you don’t want to encourage rolling near a fence. That could cause an accident.
For this reason, plan to put your nap station near the center of the pasture, or at least 12 feet away from any fenceline.
What Size?
To get the most use out of your DIY horse sand station/bed, build it as large as possible. Lying down and rolling takes a lot of space for a horse. A broader, deeper space encourages them to use the enrichment.
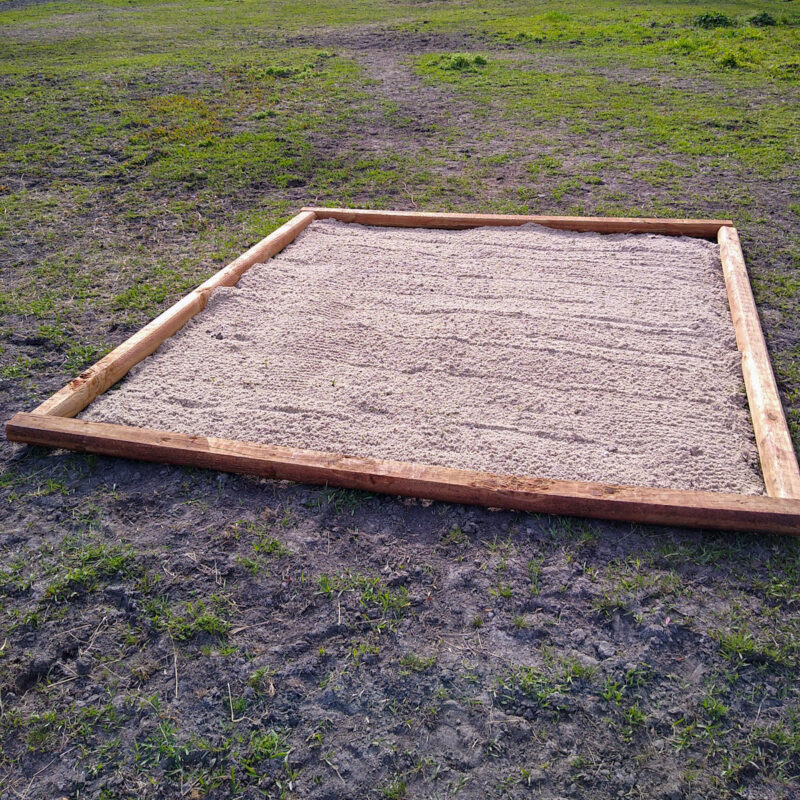
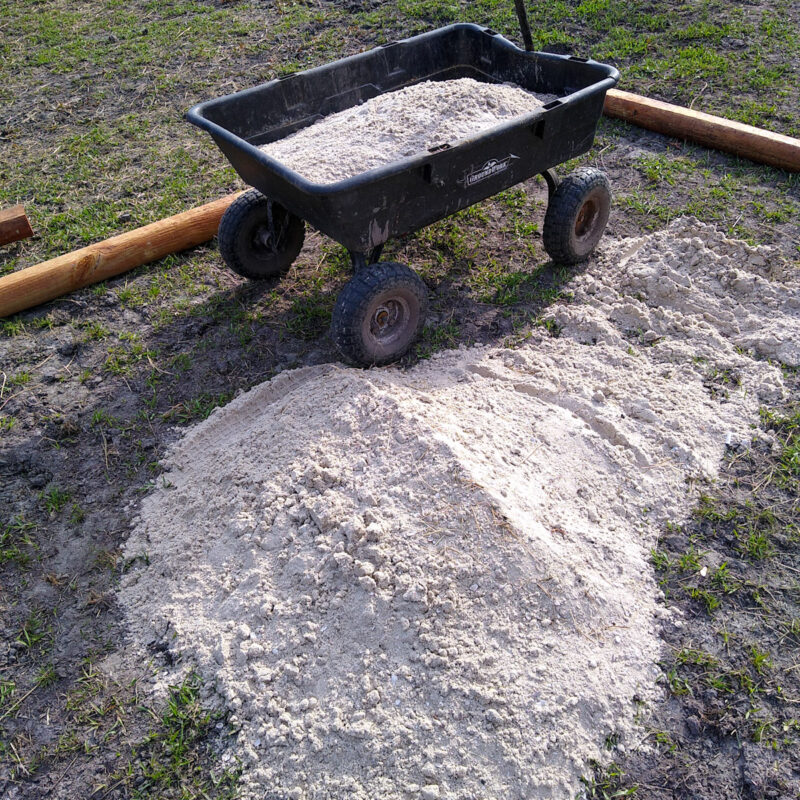
If possible, build your pasture bed at least 8 x 8 feet. If you need a timber border, make the sand station larger if possible. The sand station shown here is square, but yours can be any size.
The amount of substrate you can add also affects the size of your pasture bed. The bigger the sand station, the more sand (or other substrate) you’ll need. An 8×8 square is a good balance of size and cost efficiency.
What Material for the DIY Sand Station?
You have several options for your sand station’s substrate. It doesn’t have to be sand!
This post covers how to build a pasture bed with sand, but you can use shavings, especially if the “bed” has some cover or you’re in an area without much rainfall.
You will want to use good quality, clean substrate. Sand can be dusty when first purchased and spread, but dust will quickly blow away or settle with a little rain.
You can source your sand from local garden centers or construction companies, or just use several bags of play or paver sand from the hardware store. Use whatever is most economical and easiest to source for this DIY enrichment activity.
If your barn or another local facility is redoing the footing in an arena, that’s a great opportunity to snag some sand. Also consider asking for surplus sand from construction projects. Sometimes, work crews will let you fill buckets of their extra sand.
Don’t use crushed gravel, sometimes called stone dust or crusher run, for this bed. This material is cheap, but isn’t soft and giving enough for a rolling station or bed. Soft, fluffy beach sand, play sand, fill dirt, or shavings are your best options.
How Much Material?
You should make your DIY sand station with at least a half inch layer of sand. More is always better! There’s no upper limit. A bed several inches deep is best for encouraging your horse to roll.
While it’s not totally necessary to have several inches of material, it’s nice to have enough to cushion your horse’s joints. Deeper, fluffier bedding is also better for self grooming. Your horse will have lots of fun covering themselves in dirt or shavings.
If you’re setting up the pasture bed atop a grassy pasture, you’ll need enough to cover the grass or its roots completely, or remove the grass before building your DIY sand station.
Borders and Edging
It’s a good idea to create some kind of border around your sand bed. A border around the DIY sand station will keep the material in place and stop it from gradually eroding away.
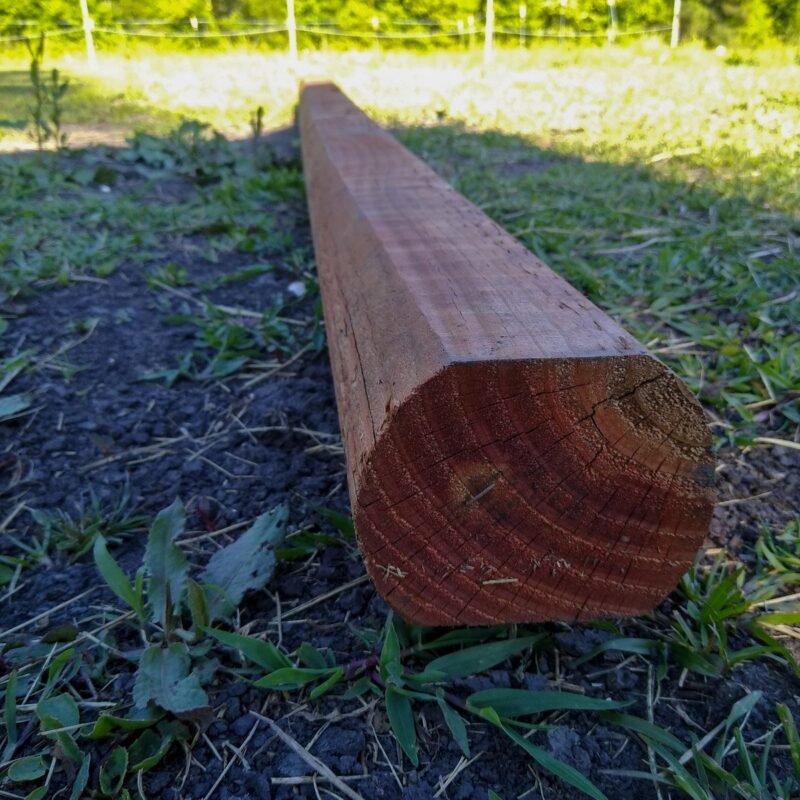
For the pasture bed shown here, I used 8 ft landscape timbers with rounded edges. The rounded sides provide a safer option than hard corners. These poles are pressure treated and heavy.
They mostly stay in place, but can move around if necessary.

You can use treated or untreated wood for this project. A coat of exterior-grade paint can help the timbers last longer, especially if you’re in an area with a lot of moisture.
Another option is 2-inch PVC pipe, which can be connected into a square using elbow fittings.
You can also use boards, laid flat on the ground, to create a visual distinction between the bed and the rest of the pasture. This can be good for horses with limited mobility, for whom a taller border can discourage use of the bed.
Build Your DIY Sand Station For Horses
Setting up the sand station is easy! The most time-consuming part is gathering the materials: the border pieces and enough sand or other material to fill the bed.
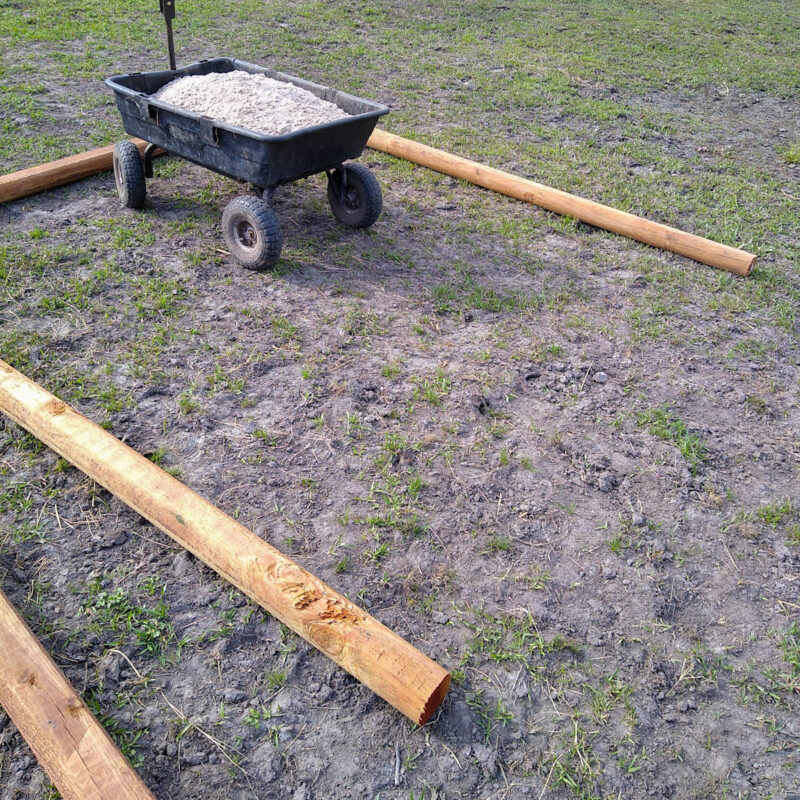
If you have a tractor available, you can construct the bed in minutes. If not, more elbow grease will be involved but you can still build a great bed. Just transport sand with a wheelbarrow, utility cart, or even buckets (you’ll get a good arm workout).
Sand is heavy, though! If you’re doing this project by hand, work slowly and steadily and don’t overfill your buckets or carts – it’s easier to haul several small loads of sand to the bed than a single over-filled wheelbarrow.
If you’re converting a section of pasture into a bed, plan to either add enough sand to smother the grass underneath, or remove the grass before putting down the sand. Keep the edges tidy of grass after the bed is built to cut down on any temptation for the horse to graze on grass emerging from the sand.
If you are using border materials such as landscape timbers, decide how to install them, such as whether you want to attach them to one another or simply laid on the ground in a square. When first constructing a pasture bed, I like to leave the timbers unattached to ensure that the horse likes the setup. They can always be attached later.
If you do want to connect the edging materials, be sure to do so in a horse-safe way. Install any bolts or screws deep into the poles with no protruding points or edges.
If possible, it’s a good idea to trim the corners of landscape timbers to round them a bit. If your horse rolls over the top of the timbers, they won’t hit a hard corner.
Sand Station with a PVC Frame
If your rolling station is edged by PVC pipe, horse-safe attachment of the pieces is easy. Just glue an elbow fitting at each corner. This takes just a few minutes for all four corners and produces a safe and lightweight border for the bed.
For extra weight, and stability, pour sand or gravel into the PVC pipe before closing up the square.
Then just keep adding sand – a scoop from a tractor or one bucket at a time – until the bed reaches the desired depth. Rake it smooth, check it over once more, and it will be ready for your horse.
Introducing the DIY Sand Station to Your Horse
You can construct or fill the bed while the horse is in the pasture, and they’ll get an introduction to their new decor while you work. If your horse was stalled or in another paddock while you worked, the sand station slowly.
Follow the same guidelines outlined in our post on neophobia and teaching your horse to interact with your enrichment. The rolling station is a large, bold piece of “furniture” in the pasture. It’s okay for your horse to be nervous!
Make sure your horse sees and is aware of the new enrichment as you bring them into the pasture, and don’t force them to approach it. Some horses will take a “floor is lava!” approach to the sand station when they first encounter it. Watching you walk over it a few times can reassure them that the sand is safe to touch.
Some horses don’t understand the idea at first, while others flop down for a roll or nap right away. If you aren’t at the stable all the time, it might be difficult to tell whether your horse is using this enrichment item.
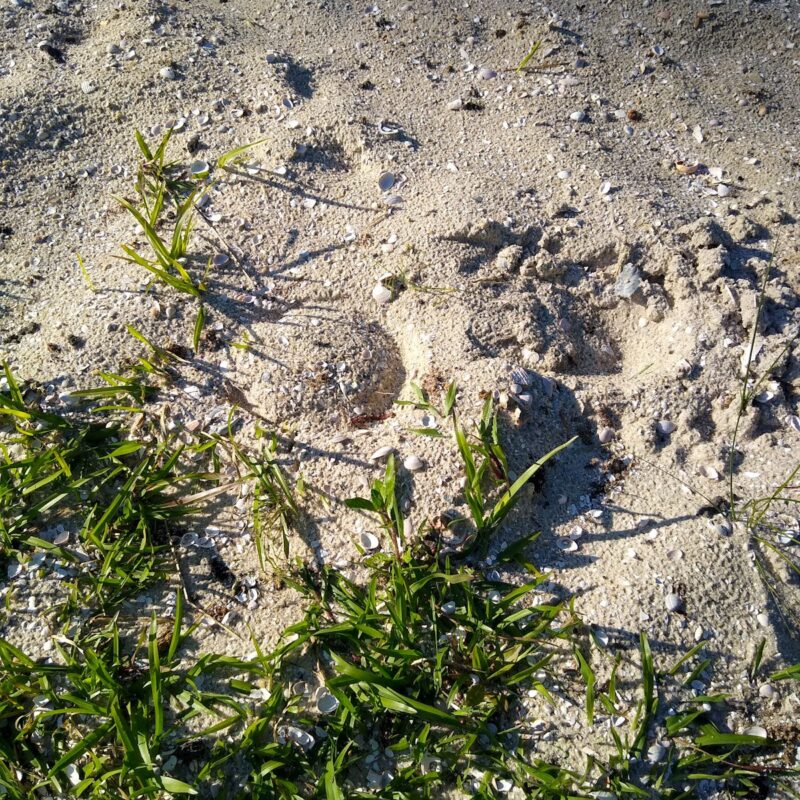
The surest way to know is by looking for signs that the sand has been rolled in, pawed at, or slept on. Don’t worry if it takes several days for your horse to figure out how much fun the pasture bed is.
DIY Sand Bed and Horse Safety
This pasture structure can provide valuable enrichment for your horse, but there are some safety considerations to keep in mind.
First, use the right material for the sand, as outlined above. Buy clean material without contaminants or additives. Check over and rake your sand or other fill carefully before inviting your horse into it.
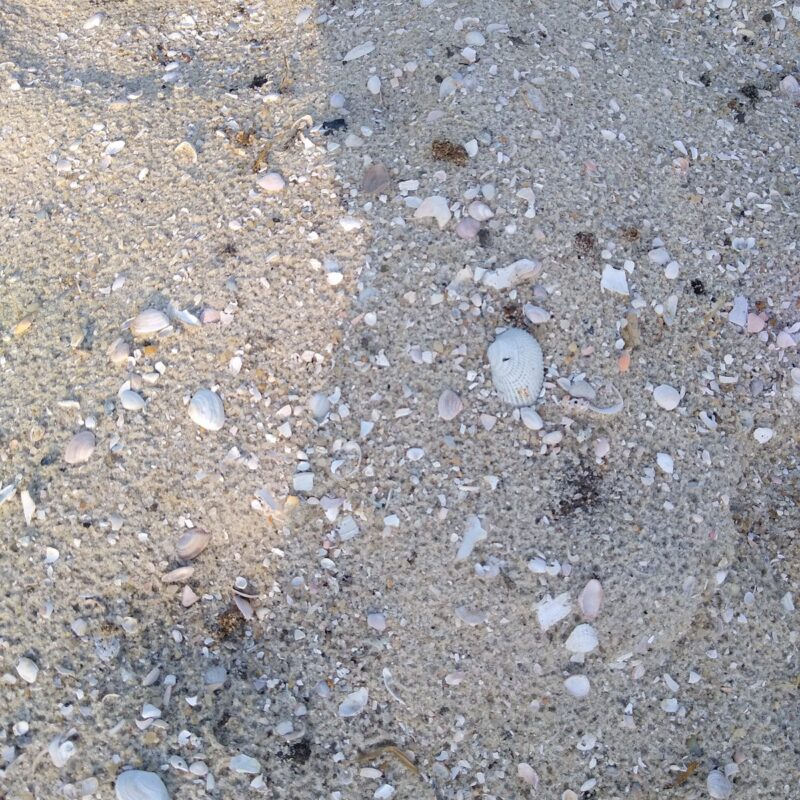
You want to ensure there are no foreign objects buried inside, such as glass or metal. Beach sand occasionally has large fragments of shell that you’ll need to remove.
Your pasture bed border material should be horse safe when first built and during ongoing use. Inspect it frequently, checking for warped wood or cracked PVC. Immediately remove or securely repair or cover any border materials that have developed rough or sharp edges.
The pasture bed featured here uses sand. Sand ingestion is a serious potential concern for horses. It happens when horses eat or graze atop sandy surfaces.
It’s not likely that your horse will be at risk from the sand used in this enrichment structure, but don’t take chances. Don’t feed your horse on or around the sand bed, and keep grass from growing into and through the sand. Observe your horse regularly to make sure they’re not using the sand bed in an unsafe way, including nibbling on the sand or the border material.
The DIY Sand Station for Horses: Enrichment Win
And that’s all there is to it! Setting up a pasture bed takes some time and effort, but it provides your horse with ongoing enjoyment and a perfect place to take care of their own physical and mental needs. This multi-purpose project will create plenty of enrichment opportunity for your horse, encouraging them to roll, shake, and nap.
Have you built a pasture bed or other enrichment structure? We want to hear how it went! Tell us all about it in a comment!