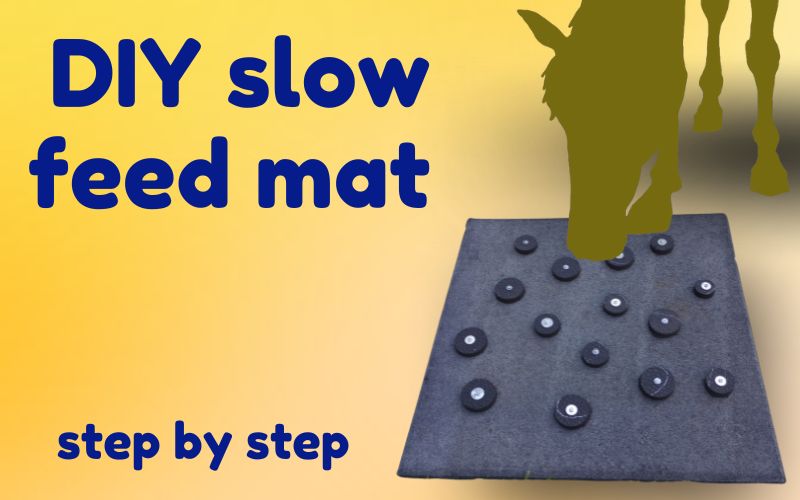
Every horse needs a slow feeder mat! These simple enrichment items make mealtimes healthier and more natural for your equine friend. This one is easy to create from a repurposed stall mat or rubber traction mat, and is rugged and durable enough to last for years. Here’s how to make this awesome DIY slow feed mat for your horse!
What IS the DIY Slow Feed Mat for Horses?
I LOVE textured slow feeders for horses.
These simple pieces of equipment are equine enrichment items. That means they encourage more natural behaviors and provide stimulation. Read more about what enrichment is – and isn’t – in this post.
This DIY slow feed mat has a simple design: a heavy, flat rubber mat topped with cutouts of rubber held in place with bolts. To use it, you’ll spread your horse’s feed or a cup of treat foods over the surface. Your horse will use their sensitive whiskers and lips to work between the discs of rubber to get every last bite.
Why is the DIY Slow Feed Mat Good for Horses?
Slow feeder devices are good for horses for several reasons, and I’m especially attached to this style. This is actually the 2nd type of rubber feed mat I’ve covered recently and it uses leftover pieces from that project, so it’s perfect for equestrians on a budget.
The first perk of rubber slow feeder mats for horses is a more natural feeding style. Instead of cramming their nose into a bucket that may hang at head height, this enrichment item lets your horse eat at ground level with their head in an appropriately low position.
This spreads the food out over the surface so your horse can’t just vacuum up the feed. This slows down the meal, bringing it more in line with healthy equine biology and reducing the risk of serious issues like choke.
Third, the DIY slow feed mat does all this but prevents substrate ingestion. That is, no eating sand or stall bedding by mistake. The mat is large, letting the feed spread out but keeping it on the mat instead of the ground.
And lastly, this enrichment item provides sensory stimulation and challenge. Not only will your horse eat more slowly, they’ll need to use their brains and physical coordination to eat all the food from the mat. This kind of stimulation is crucial for best mental wellbeing, especially if your horse spends extended time in a stall.
How to Make the DIY Slow Feed Mat for Horses
This project is a DIY build. You’ll need at least a drill. To get the perfect circular rubber pieces, you’ll also need a hole saw attachment for the drill – but in a pinch, square cuts from an old stall mat will work fine too.
Here’s what you need:
- One piece of stall mat or rubber traction mat, at least 16″x16″
- A section of rubber stall mat for cutting the texture pieces (see below for more info)
- Bolts, nuts, and washers: one per texture piece (see below for more info)
- Power drill and regular fluted bit for drilling holes
- Serrated knife if not using hole saw or jigsaw
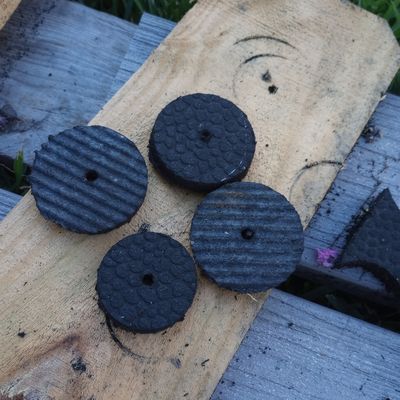
Sourcing the Rubber Stall Mat Pieces
This horse enrichment build features a flat rubber base, with chunky rubber cutouts attached to the top.
Stall mats are ideal for projects like this for several reasons. First, they’re very heavy and ultra-durable. After all, they’re made for horses! Second, they are surprisingly easy to work with. One stall mat can make several slow feeders, so if you’re replacing mats in your stable this is a perfect use for one of the castaways.
This project is designed to use the cutout pieces from this slow-feeder build featured in an earlier post. In the previous slow-feed mat tutorial, we cut holes in a mat using a jigsaw or hole saw. Those cutout pieces are perfect for this project and a great no-waste option.
So I recommend you buy or repurpose a single stall mat and build both the cutout textured slow feeder mat and this bumpy-textured mat, using the waste from the first project to build the second!
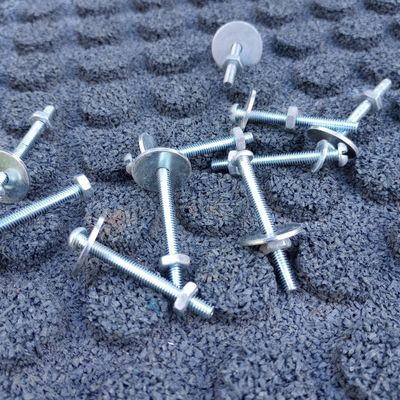
The Right Hardware
You’ll attach the rubber texture pieces to the base mat using bolts.
For this project, you’ll want to measure the height of the rubber cutouts and base mat and choose a bolt just a little longer than this measurement. This is because your bolt needs to be long enough to secure in place with a nut, but you don’t want a bolt that’s so long that it sticks out the back.
The end of the bolt will be on the bottom of the mat so it’s not likely that your horse would come into contact with it, but safety should always come first. Exposed points of metal should always be considered a possible hazard due to punctures.
To eliminate this issue, choose a bolt just long enough for the end to stick out of the mat and receive a nut to hold it in place. The nut will make a flat nub on the reverse side of the mat, and does not have sharp edges.
Stall mats come in different heights, so I can’t recommend an exact measurement. For most stall mats, a bolt around 1.75 to 2 inches, like this inexpensive set, will be close to what you need.
This project is made to be used outdoors and around moisture (horse feed and spit!), so I recommend stainless steel.
Step 1. Lay Out Your DIY Slow Feed Mat Pieces
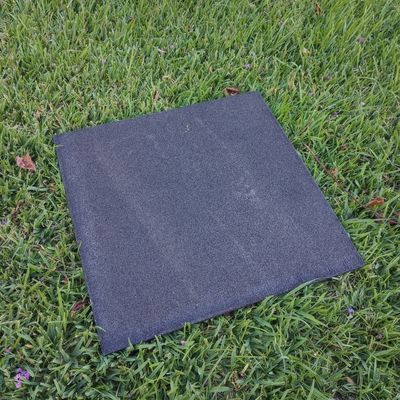
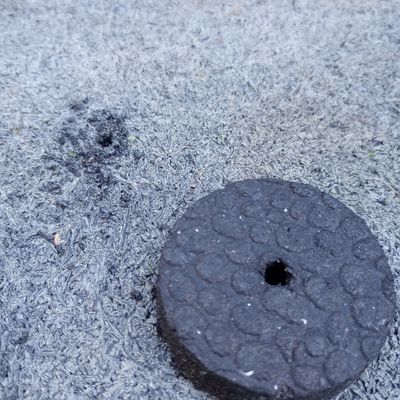
To begin the project, set your mat flat on the ground and visualize the layout of its texture pieces.
I’m using a repurposed piece of rubber floor tile, and topping it with the round waste cuts from using a hole saw in the previous slow feed project.
If you haven’t already cut rubber pieces for the top of the mat, go ahead and do that now. These round cuts of rubber look great, but you can simply cut rectangles or squares from a stall mat using a jigsaw or a cheap serrated knife. It doesn’t have to look pretty to be functional!
Now spread the rubber pieces onto the base mat and arrange them how you like.
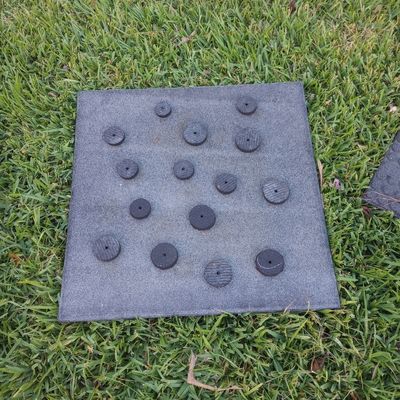
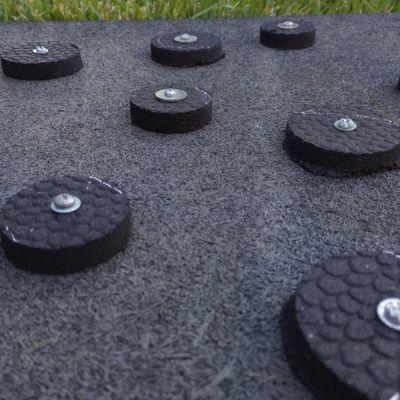
There should be enough space that your horse’s lips can fit between them. Closer spacing and more upper pieces increases the challenge of the slow feeder, and extends meal times. Small rubber pieces with big spaces in between are simple and usable for all horses:
IMAGE
Step 2. Drill Holes in the Slow Feed Mat
Using a regular fluted drill bit, drill a hole through each rubber cutout and the base mat. If you are using hole-saw scrap piece, they will already have a central hole – just clean it out using the drill bit to make sure it’s nice and smooth.
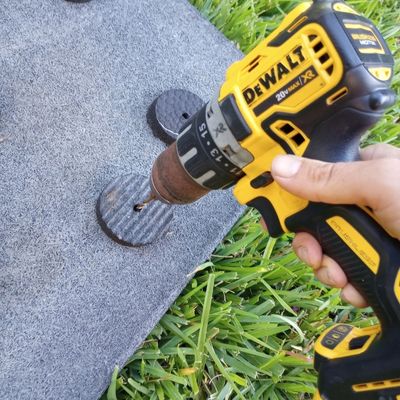
You can drill right through the upper rubber pieces into the base mat, or make separate holes – whichever works best for you. When you’ve made each hole in the base mat, carefully move your drill up and down while the bit spins to clean out the hole and make it easy to slip the bolt in.
In the picture above, the round rubber piece is finished and ready for the bolt, while the hole in the base mat to its left still needs to be cleaned out using the drill bit. This extra step makes attaching the rubber pieces much faster and hassle-free.
Step 3: Attach the Rubber Pieces to the Horse Slow Feed Mat
Now it’s time to put the mat together by installing the rubber top pieces to the base mat.
Take one bolt and put a washer on it as shown:
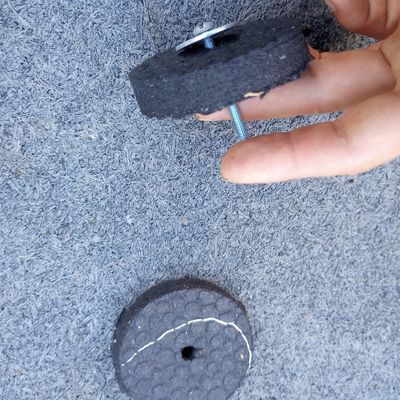
The washer supports the head of the bolt and keeps it from gradually working through the rubber. You can also use bolts with extra wide heads, but a stainless steel bolt and washer combo is pretty foolproof.
Slide the bolt all the way through the piece of rubber and then guide it into the base mat. It should slip through with just a little pushing. If it’s difficult to get the bolt through the mat, you can use a Philips head screwdriver or drill bit to rotate it into place until the end of the bolt comes out the back of your base mat.
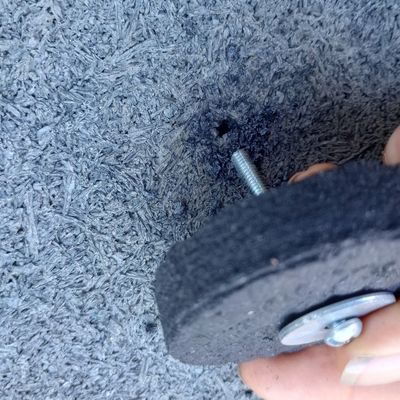
Then slip a nut onto the end of the bolt. A handheld socket wrench like this makes it fast and easy to secure the bolts. Just twirl the nut onto the end of the bolt with your fingers, then use the socket wrench to tighten it completely.
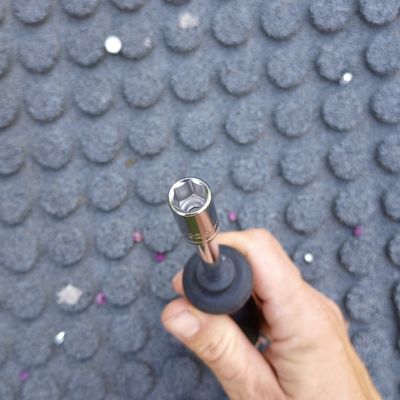
Make sure that the rubber pieces are tightly flush with each other and the head of the bolt is secure against the rubber on the front side. Test the rubber pieces with your fingers – they should not move or spin. If they’re a little loose, just re-tighten the bolts from the back side, or hold the nut in place while you turn the bolt using a Philips head screwdriver.
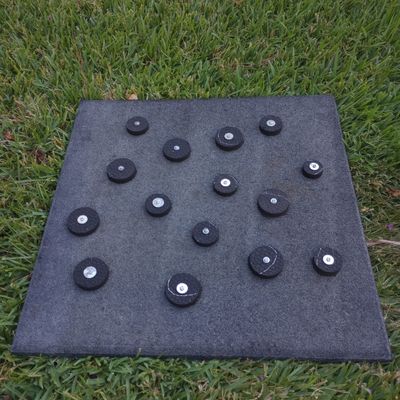
Repeat for all your other rubber pieces until you have a completed mat, like this:
Step 4: Using and Cleaning Your Horse Slow Feed Mat
Your mat is done! Check the bolts one last time for tightness and then bring the mat to the stable for use. Just be prepared: if made as shown in this article, it’ll be heavy!
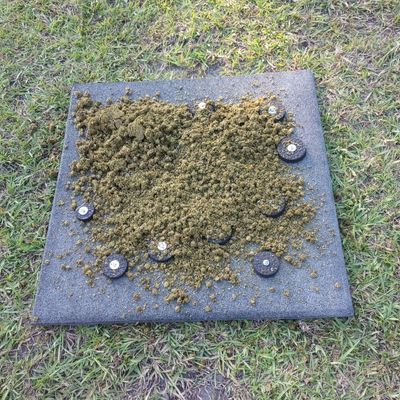
Prepare food your equine friend as normal, or make a blend of feed and treats to use as a special enrichment activity. A forage-based meal of lightly soaked hay pellets is appropriate for almost any horse and works perfectly with the slow feed mat’s textured design. You can also use special foods such as chopped carrot, apple, peanuts, or applesauce for a treat puzzle session.
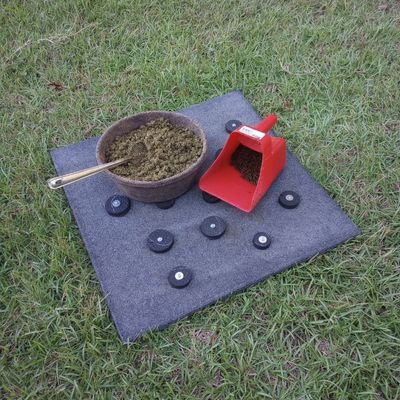
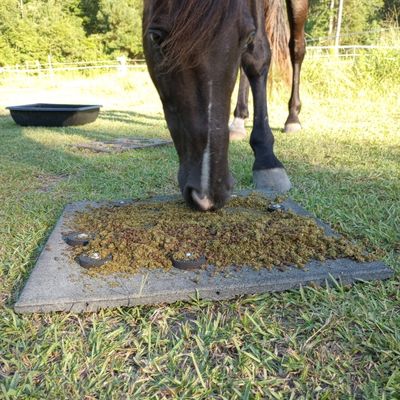
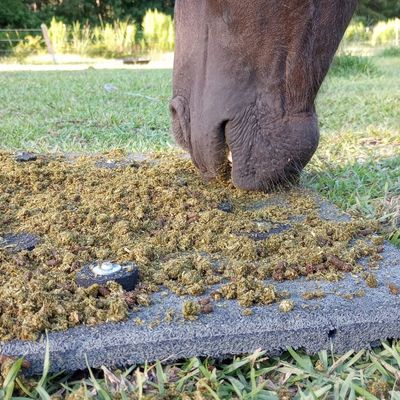
In this shot, I’m using the mat for a horse on a forage-based diet. This is a great way to extend mealtimes for horses who don’t receive a lot of processed feed. You can see the lightly soaked hay pellets and supplement blend in the pan. In the red scoop is a handful of senior feed for texture and interest.
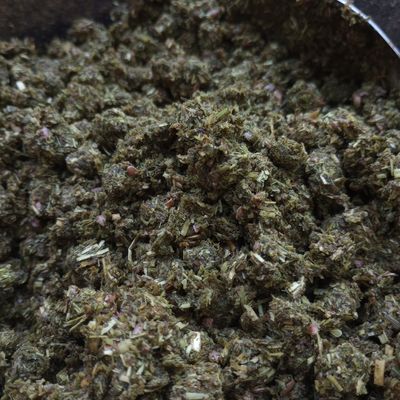
The horse slow feed mat works great with any texture of feed. If you don’t know what texture your horse prefers to eat, this is a great time to do a food preference test for your equine friend to find out! The horse testing out this mat cannot have totally dry feeds, but does not enjoy too-wet meals. The hay pellets have been soaked with just enough water to fully expand them:
Pour the feed onto the mat and offer it to your horse!
It’s best to spread the feed out over the surface of the mat using your hand or a spoon. As your horse eats, they’ll push the food around. The generous sizing of this horse slow feed mat keeps everything contained.
You can use this item in any paddock or stall.
After your horse finishes their meal, brush it off and store it in the stable. You can also leave it in the paddock for future use because it’s very sturdy and weather-resistant, but I like to keep toys and other enrichment fresh and exciting by placing them out of view until the next play session.
And that’s all there is to it! With this horse slow feed design you can offer your equine friend more natural mealtimes, mental and sensory stimulation, and a healthy eating pace. It’s a win for everyone!
Related Enrichment
Looking for similar ideas? Try these:
The first rubber stall mat slow feeder, which gives you the shaped inserts for this project
Car Mat Slow Feeder for a no-tools textured feeder DIY!
Licking Mats for Anxiety Relief, Sensory Stimulation and Fun
The Kong Wobbler – perfect for slow feeding of dry pellets