Treat balls are a fun, safe horse toy. They prevent boredom and give your horse a physical and mental workout. You can buy rolling treat balls, but you’ll save money and delivery time by making your own DIY treat ball for horses.
In this post, see how you can turn an old rubber ball into an awesome DIY treat ball for your horse. It’s a great way to upcycle an old horse or dog toy. And this toy makes a perfect enrichment item for even very active or enthusiastic horses.
What is a DIY Treat Ball for Horses?
This DIY horse toy is a basic treat ball repurposed from a rubber ball. We’re using an old Jolly Pets Bounce-n-Play ball that had seen better days.
To make this DIY horse toy, you’ll mark hole locations in a rubber Jolly Ball or other ball and drill holes for treats. To get the goodies, your horse will push and nose the ball around, making the treats drop out the holes.
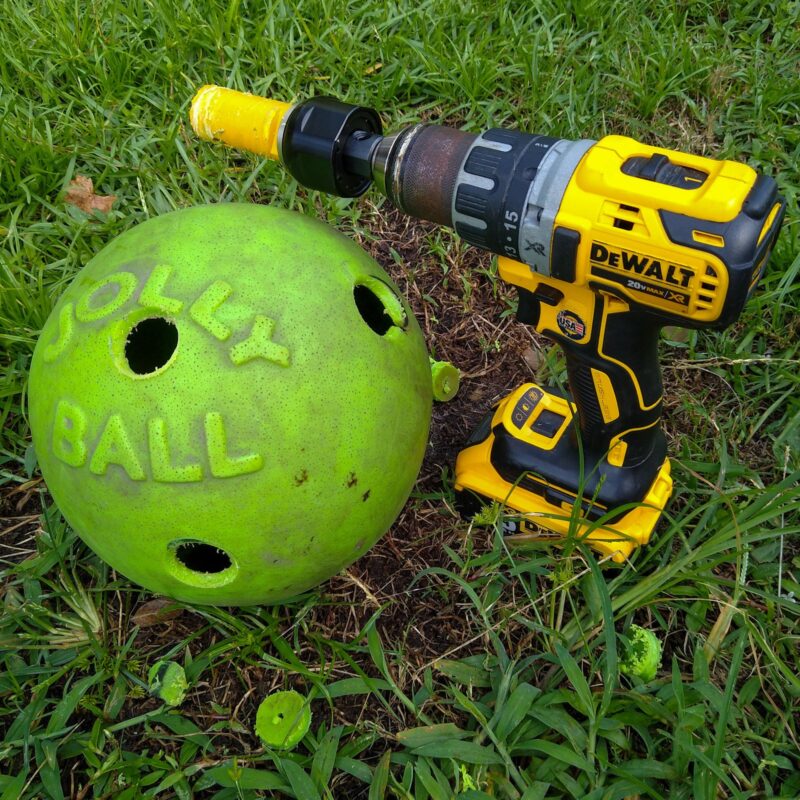
What Behaviors Does the DIY Treat Ball Encourage?
Rolling treat dispensers are a favorite toy for many horses. Enrichment is all about encouraging your horse’s natural behaviors, and this toy does that by getting your horse to use their brain to figure out how to get the treats to come out. Then they have the physical challenge of moving the ball in just the right way to knock out the food.
When you use a DIY treat ball for your horse (or a storebought one like the Shires Hay Play ball), you’ll promote lots of natural equine behaviors, like –
- Foraging/finding their own food
- Problem solving and cognition
- Using the senses, especially vision and touch
- Fine motor control and dexterity
Giving your horse the chance to express natural behaviors is one of the biggest aspects of good horse welfare. It’s actually one of the Five Opportunities to Thrive, right up there with a good diet and vet care, so items like this are really important for your horse. But they’re also a LOT of fun, so horse toys like this DIY treat ball is a win for everyone at the stable!
How to Make an Upcycled DIY Treat Ball for Horses
You’ll need two things to make this item: the ball and a way to cut the holes. Once you have the materials, making this horse toy is really simple.
First: Get a Jolly Ball or other Repurposed Ball
Pictured is a Jolly Ball Bounce-n-Play Ball, which is a great toy for both dogs and horses. It’s made of thick, sturdy rubber so it’s very safe. This ball is a lot of fun for animals to roll around and it has that satisfying rubber bounce.
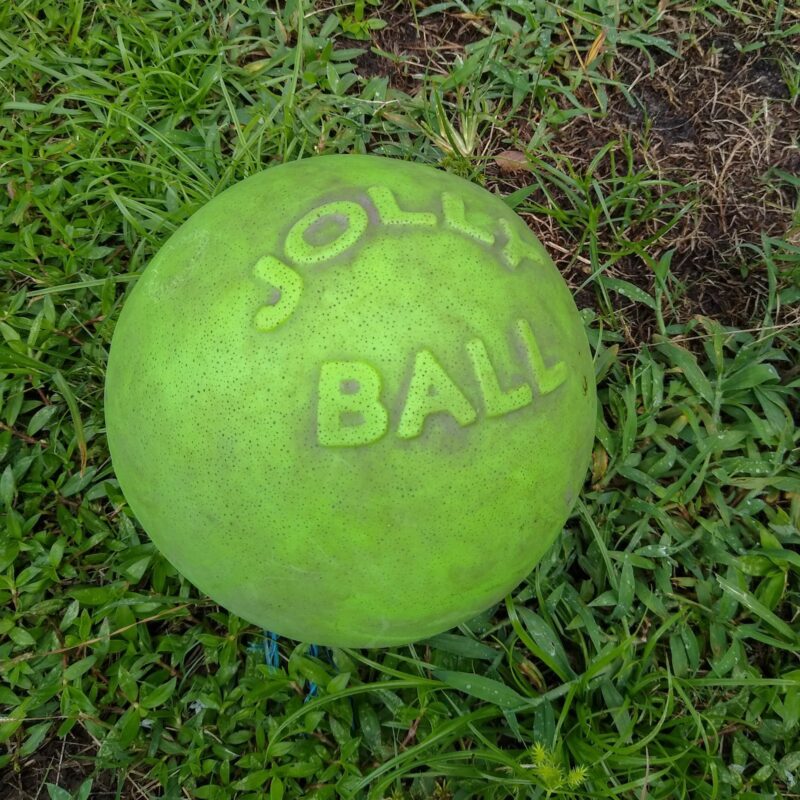
This ball had seen better days, though. It had been squashed and smashed a few times, and had a split in the side:
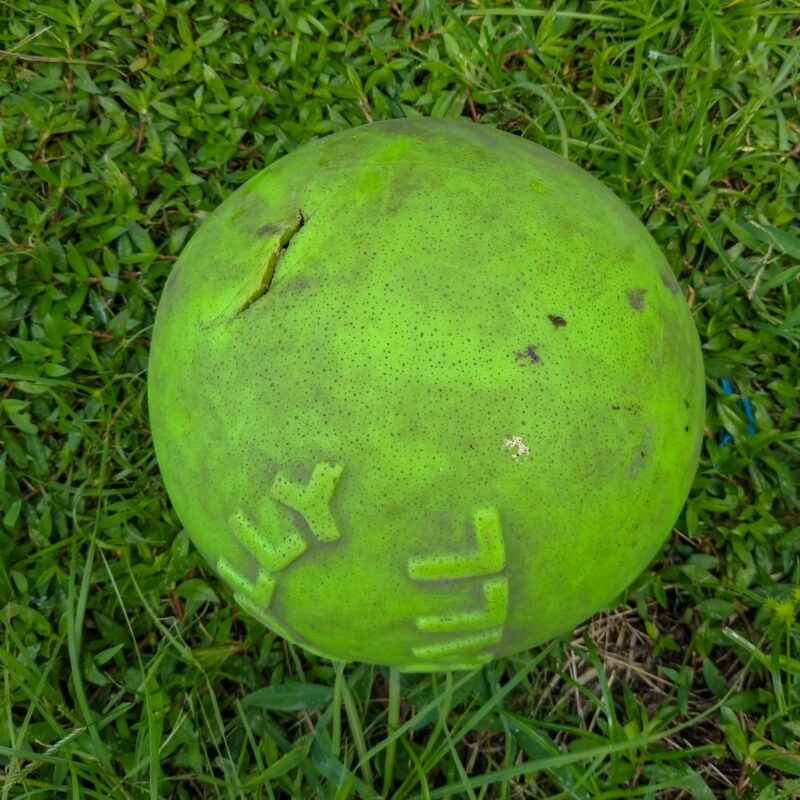
If you have a ball like this, you can repurpose it instead of throwing it away – giving your horse a second toy for free! The Bounce-n-Play isn’t an expensive toy, though, so if you want to get a new one for this project, they’re available on Amazon. You can grab a couple and turn one into the rolling treat ball, keeping the other for a fun toy to simply encourage play.
You can use any sturdy ball for this project, but I really like Jolly Pets products because of their safety and durability.
Next: Mark the Holes for the Treat Ball
Decide how many holes you want for your horse’s DIY treat ball. If it’s your horse’s first time with a toy like this, make several holes of a generous size. Eight holes on a ball this size is a good starting place. Remember, the more holes, the faster and easier the treats will drop out.
Larger holes also make the ball easier and faster for the horse to empty. So if your horse is inexperienced with this ball and you’re just teaching them how to use puzzle feeders like this, go with larger holes and more of them. This will help your horse learn how to use this enrichment item and have a good time without getting frustrated or giving up.
When your horse is a pro at solving this puzzle, you can make a second ball with fewer, smaller holes.
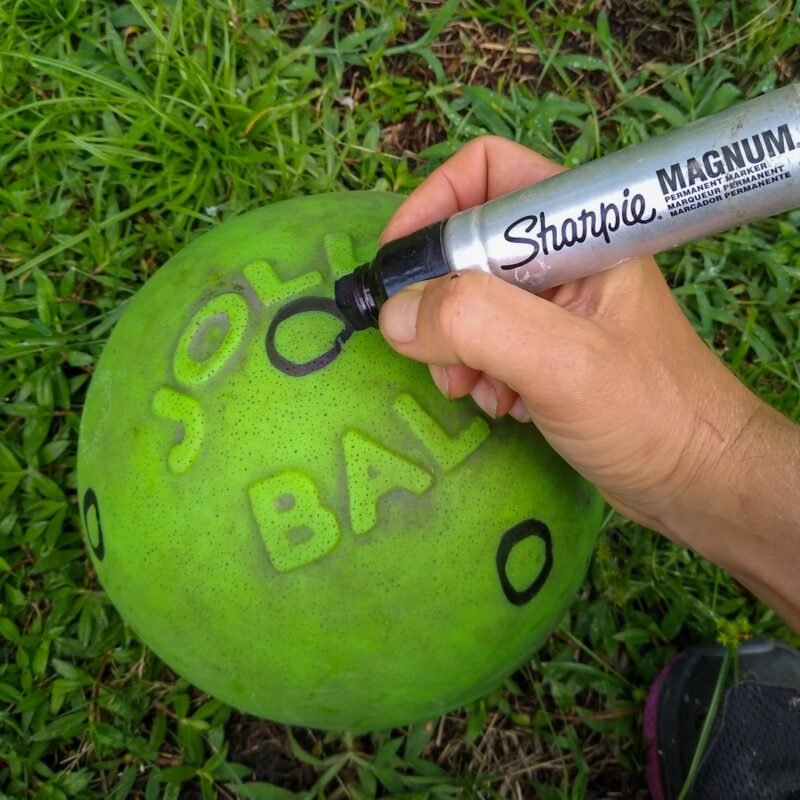
With the holes marked, use a drill and hole saw attachment to cut the holes.
Hole saws are a really useful tool when making DIY horse toys and other enrichment. I use this kit, which is pretty fancy with lots of different sizes. It’s a good investment if you’re really interested in making lots of enrichment for your own horse, or a set of communal toys for a stable.
Hole saw attachments are available individually, so if you’re staying in budget, pick up a single saw in the size you want at the local hardware store or online – it will be something like this 1-inch diameter hole saw with the portion that goes into your drill.
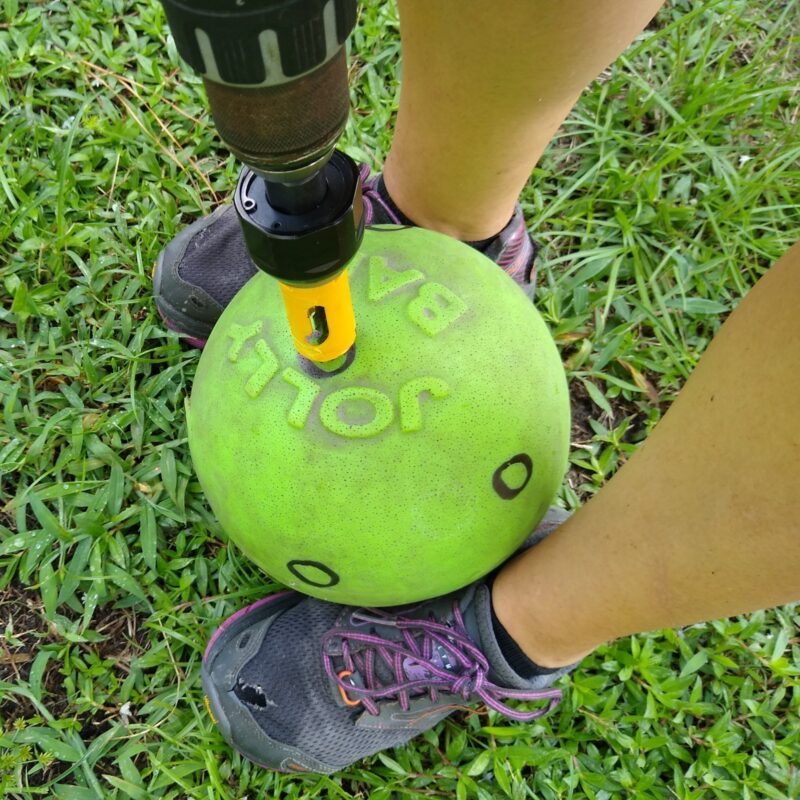
Work slowly and carefully, controlling your drill to keep it from traveling around the surface of the ball.
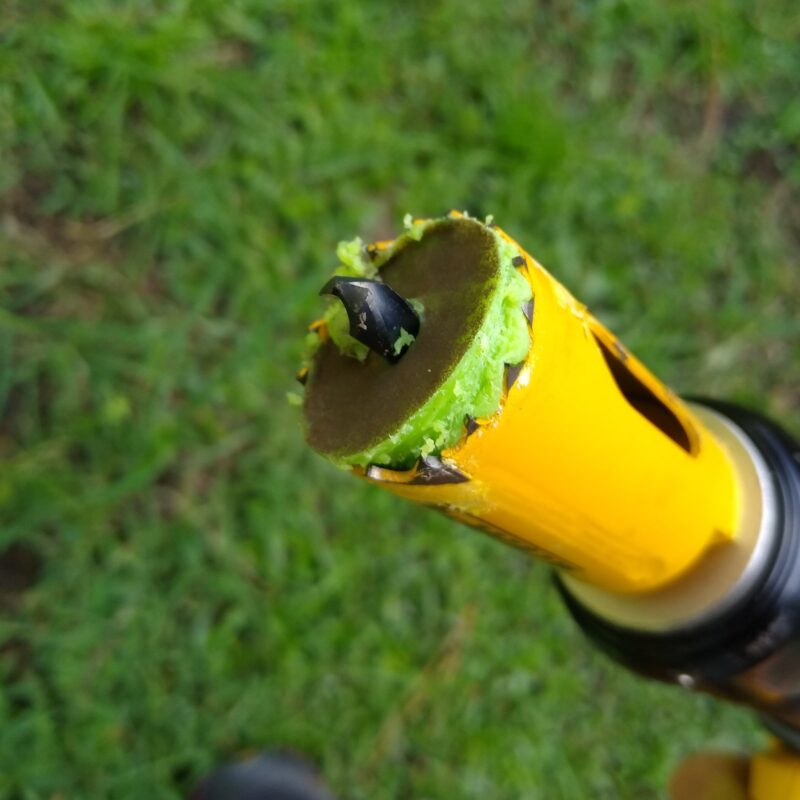
You’ll need to remove the cutout from the saw attachment after each hole, which is easy to do with a screwdriver or pencil.
With all your holes drilled, run your finger around the edges of the holes to pull off any tiny loose threads of rubber. Then it’s time to add the treats!
What Food and Treats Should I Use with the Treat Ball?
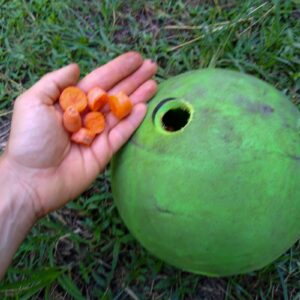
The best foods to put into the rubber treat ball are small enough to fall through the holes, and dry enough that the pieces roll around freely instead of sticking together or to the inside of the ball.
Carrots are shown here, but you can use any horse-safe fruit or veggie. Apple cubes, little bits of celery, grapes, and cucumber chunks are great choices. Small dry horse treats or cereal is another great option. You can also use plain hay pellets or your horse’s daily pelleted feed or grain.
For best results, don’t mix fresh produce with dry feeds. The moisture from the fruits and veggies can make dry feed and treats soft and loose, making it difficult for the horse to roll them out of the ball. Fresh dry feed spills right out of the holes.
For extra challenge, you can add irregularly shaped pieces of food, like 2-inch sticks of carrot or celery. This extends the feeding time because the treats only fall out of the ball if they happen to face the right way as the ball is turning.
Where to Use the DIY Treat Ball for Horses?
This horse toy works equally well in the stall or pasture. If you have rubber stall mats, you may want to sweep your stall bedding into the back half of the space to create a clean zone where the treats can fall out and not get lost in the bedding.
In the pasture, an open area with short grass is the best location. If you have bare sandy ground, it’s best to use your treat ball indoors to avoid accidental sand ingestion.
You can also put the ball in another container, such as a kiddie pool or large trough, to keep it contained and create a safe, clean zone for your horse to play and snuffle up their treats.
The DIY Treat Ball in Action [Video]
Here’s what this upcycled rubber treat ball looks like in use!
Horse Treat Ball Safety Notes
This horse toy is very safe because of its sturdy but flexible rubber material. As with all toys, make sure you check the enrichment item over before each use. Look for signs of damage, cracks, and holes other than the ones you drilled. If the ball breaks or falls apart, take it out of use and replace it.
Because food used in horse toys does count as part of your horse’s diet, make sure that you use food that works with your horse’s nutritional needs. If your horse is sensitive to sugar levels or otherwise restricted from sugary foods, use low-sugar foods such as celery, peanuts, or cucumber rather than fruit or processed treats.
Lastly, check the ball after each use and shake out any treats that your horse didn’t remove. Rinse off the ball and add some water to the inside, then give it a shake to remove any sticking bits before storing it away.
Related Enrichment
The DIY treat ball for horses is a foraging enrichment and puzzle toy. There are lots of other ways to encourage natural feeding and problem solving behaviors. Check out these ideas for more inspiration!
Plastic Jar DIY Enrichment for a swinging version perfect for stall enrichment
Another treat ball – this time made from a large repurposed food canister
Webby Balls and Hol-ee Roller Toys for Horses
Pingback: Target Training for Horse Enrichment [VIDEO] - Enriching Equines