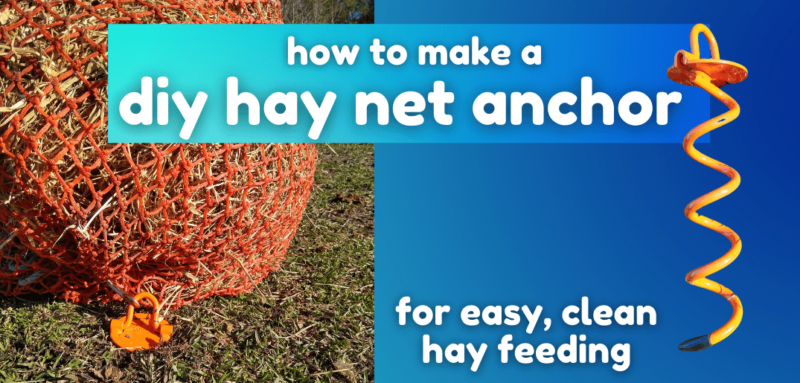
For many horses, hay nets are the perfect way to provide crucial access to forage. It’s better for your horse to use a hay net at ground level…but keeping the hay net in one place can be a nightmare. Enter the DIY hay net anchor! If you’re frustrated by hay nets getting tossed around the pasture and trampled into the mud, this barn hack is for you.
This simple pasture add-on changed my forage feeding game and made dealing with hay nets SO much more convenient. Here’s how!
What Is a DIY Hay Net Anchor?
A hay net anchor is a DIY solution to keep your horse’s hay net in place outdoors. It’s a simple but awesome stable hack.
The DIY hay net anchor a solid spiral auger made of metal with a ring on top, like a super-duty, spiral tent stake.
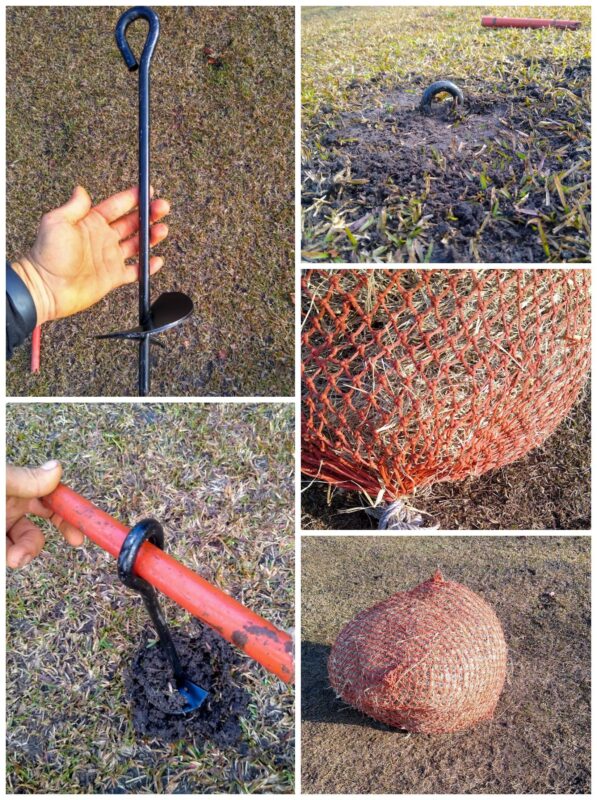
Ground anchors are made for securing sheds and other buildings in high-wind areas. A set of these near the foundations of small buildings is a common sight in hurricane- and tornado-prone areas. They stay in the ground, holding on against hundreds of pounds of force – perfect for handling a horse’s hay net!
To use a ground anchor, you tap the anchor into the ground and begin turning it like a screw. When it gets all the way to soil level, clip or tie the hay net onto the tie ring:
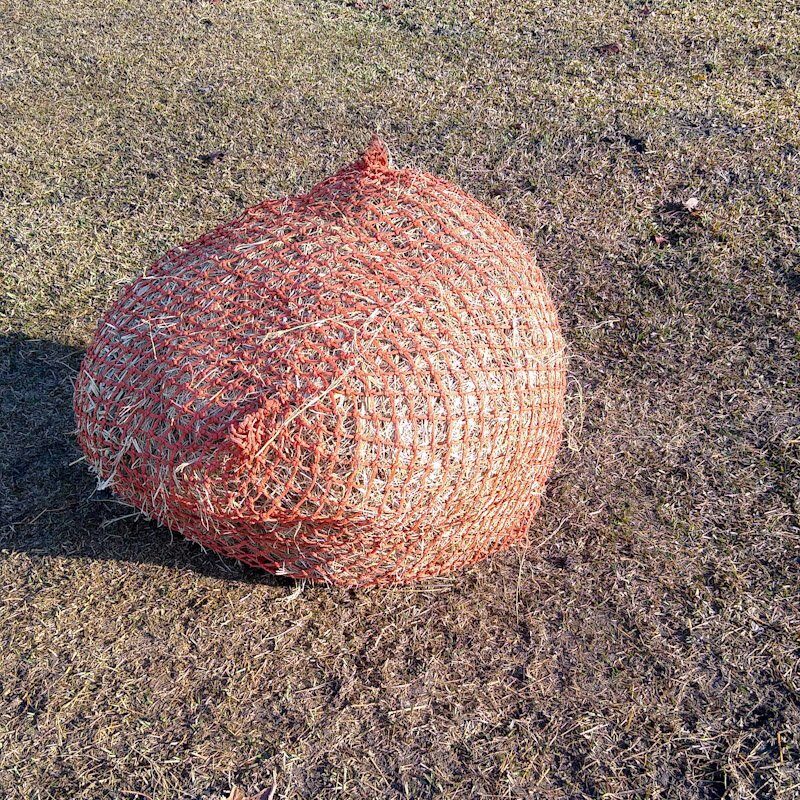
Instant hay net anchor that keep even a full, heavy net in place.
It’s SO simple and easy that I was sure there must be a catch somewhere. Was there? Let’s go over why it’s a good idea to use your horse’s hay net on the ground and why the anchor is the best way to do it.
Why Is Feeding from the Ground Better?
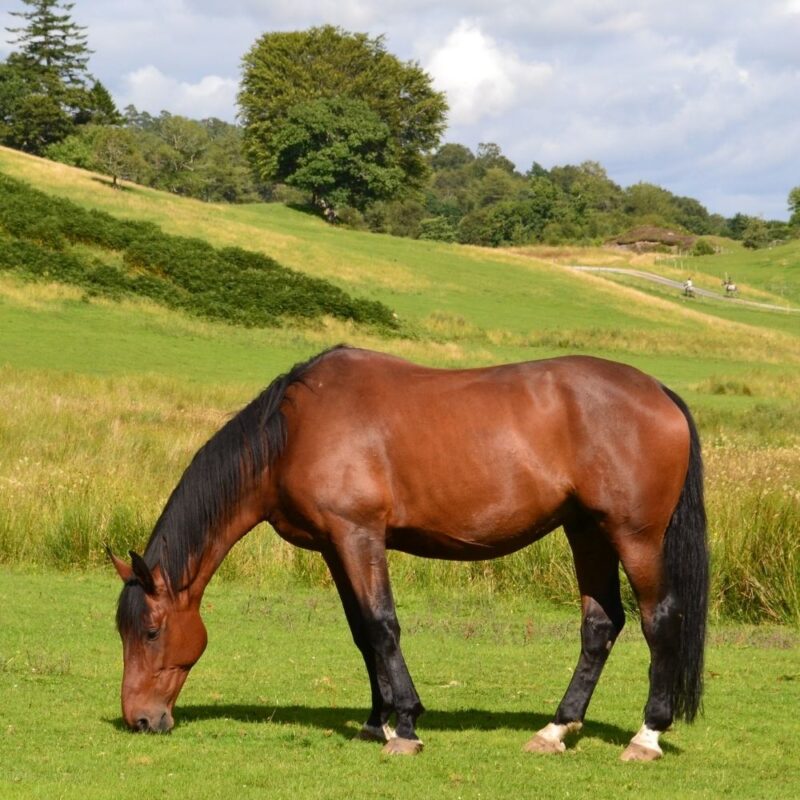
Horses are grazing animals. They are adapted for eating grass and other plants near ground level. While they do browse for things to eat from leaves and shrubs, most of their diet is grass, and feeding from the ground keeps their muscles and joints healthier.
When your horse eats hay at ground level, their posture is more natural. Their back stretches, the neck and jaw are relaxed, and their eyes and nose stay mostly above the hay.
Eating with the head and neck up – like from a hanging hay net – is okay in the short term but isn’t good for all-day, every day feeding. It tends to get more hay dust and particles in the nose and eyes. Eating this way also strains your horse’s back and holds them in an inverted, hollow outline.
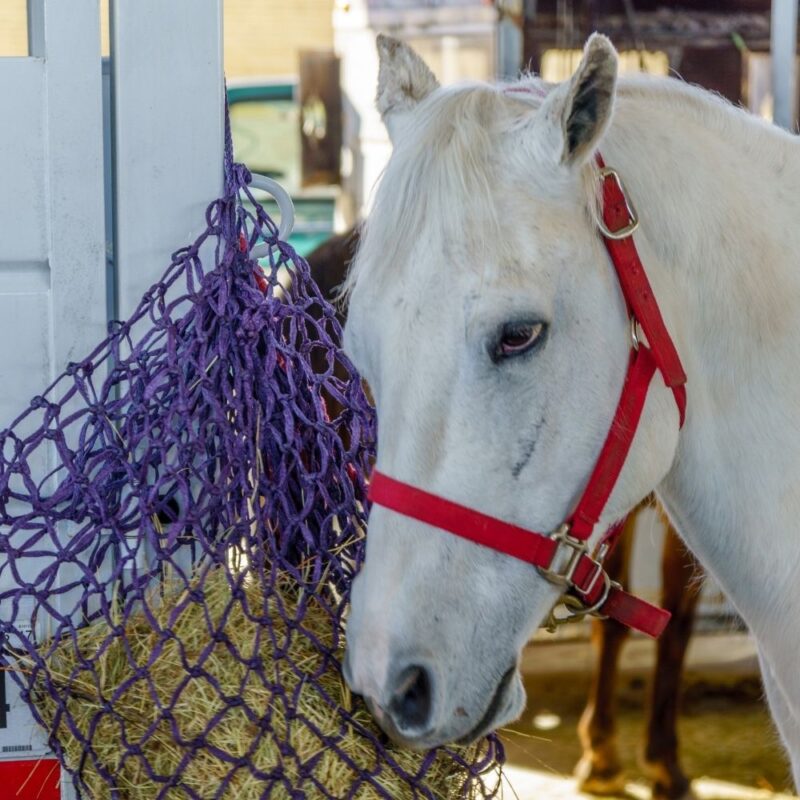
According to studies and owner experiences, eating from high nets can make horses sore in their neck, back, and poll. So why do we keep hanging hay nets up high?
Why We Use Hanging Hay Nets for Horses
We know that hay nets can be a good choice for providing the constant access to forage that’s crucial for equine welfare.
If using hay nets at ground level was all pros and no cons, we’d all be doing it. But there are reasons that equestrians keep their hay nets at or above wither height:
- Hay nets used on the ground often get trampled or muddied, wasting hay and making a mess.
- Tying to a fence or tree has safety issues and is really inconvenient.
- Hanging the hay net high is how most of us learned to do it.
- Low hay nets are unsafe for shod horses, who can catch a shoe in the net and get caught. Unfortunately, the DIY hay net anchor can’t improve this situation.
How about getting the benefits of feeding from a hay net, without the drawbacks and inconvenience? That’s where the DIY hay net anchor comes in.
Benefits of the Hay Net Anchor
This is one of the barn hacks that makes me smile every time I feed the horses.
With the simple DIY hay net anchor, the hay nets are always in the right spot. No more wandering around to find a trampled, soggy net in the back 40.
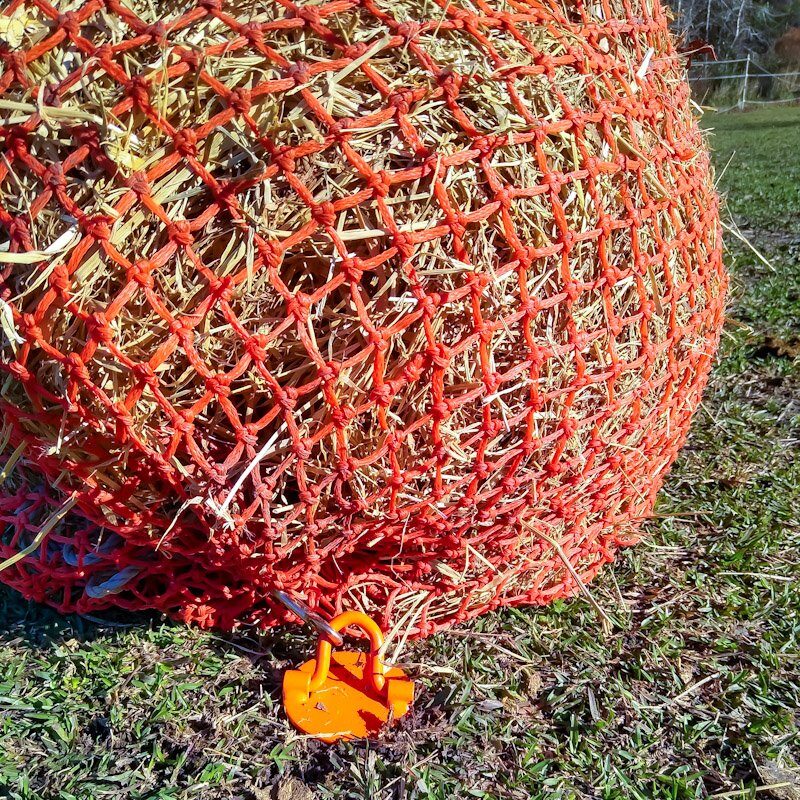
It’s safer and more efficient than tying to a post or tree, because a single clip secures the hay net. No loose ropes or cords.
It makes it easy to use several hay nets or change up the location of the forage. This kind of variety is great enrichment for almost zero effort – and by changing the hay location, you’ll be able to avoid the winter mud that tends to form in high traffic areas like feeding stations.
How to Use a DIY Hay Net Anchor (Safely)
For this barn hack, you’ll need:
- At least one ground anchor, AKA hurricane anchor, shed anchor, etc
- A piece of rebar or pipe (for extra leverage as you install)
- A piece of sturdy foam or stall mat rubber (optional, for tidying the area)
The Right Anchor for Safe Use with Horses
Ground anchors are not all created equal. They come in different shapes, sizes, and rated strengths.
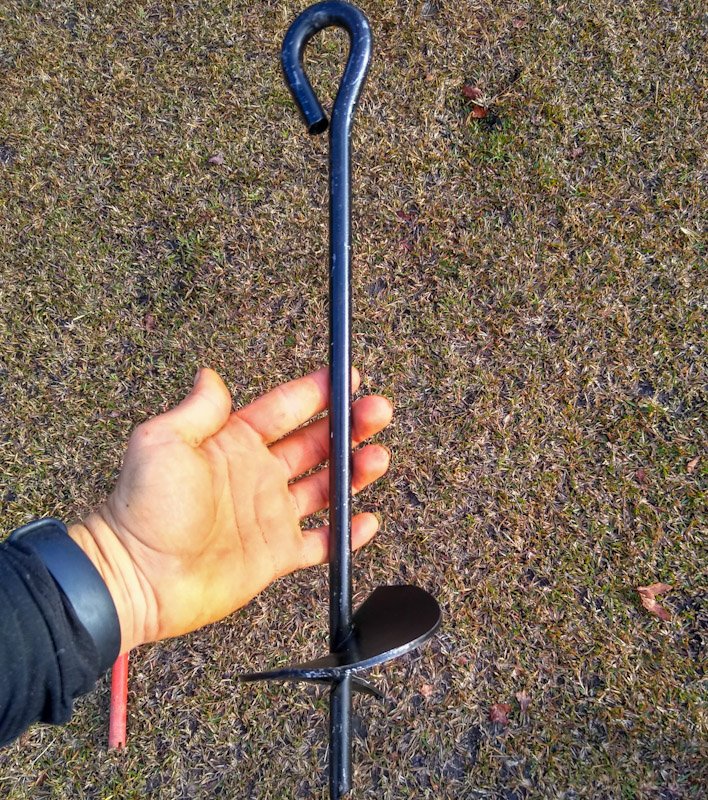
It’s important to get the right kind of anchor for this project. They’re not expensive, but you shouldn’t go for the cheapest one. You’ll need an anchor that’s:
- Solid and thick, not thin flimsy metal
- Long, preferably 1ft/0.3m, for maximum staying power
- Has a low-profile ring on top
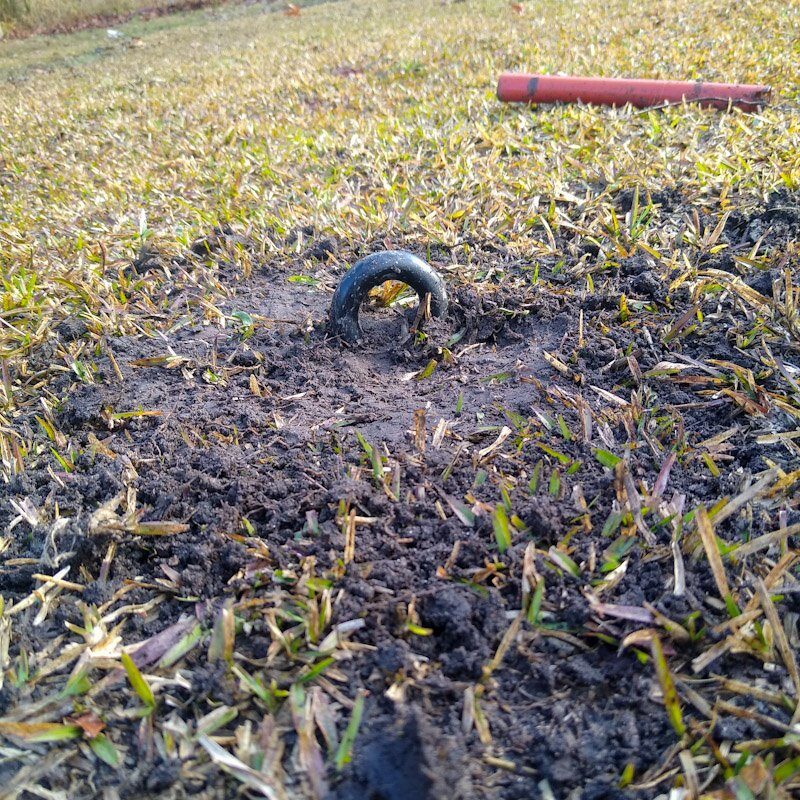
That last one is most important. For safety, the ground anchor shouldn’t stick up out of the soil. It should almost be flush with the ground.
So you’ll want something like this, where the ring folds downwards on top of the nice, flat metal flange:

Or this, where you can sink the entire anchor right down to the level of the dirt:
Where to Buy a Ground Anchor for Your Hay Net
You’ll find the best selection online, using the links above or with a quick search. If you do live in a wind-prone area, check local stores for additional selection.
You may have seen similar anchors at your local pet or feed store, made for tying out dogs for exercise. Don’t buy these – they don’t compare in strength to the construction-grade anchors. I learned this through personal experience when I tried one out and it snapped in two during installation!
With your ground anchor in hand, installing and using it is super easy.
Installing Your DIY Hay Net Anchor
Putting your DIY hay net anchor into the ground is easy. The spiral end anchors them in the soil, and all you have to do is turn them like a handle. You’ll need your anchor, a piece of pipe, and your hay net.
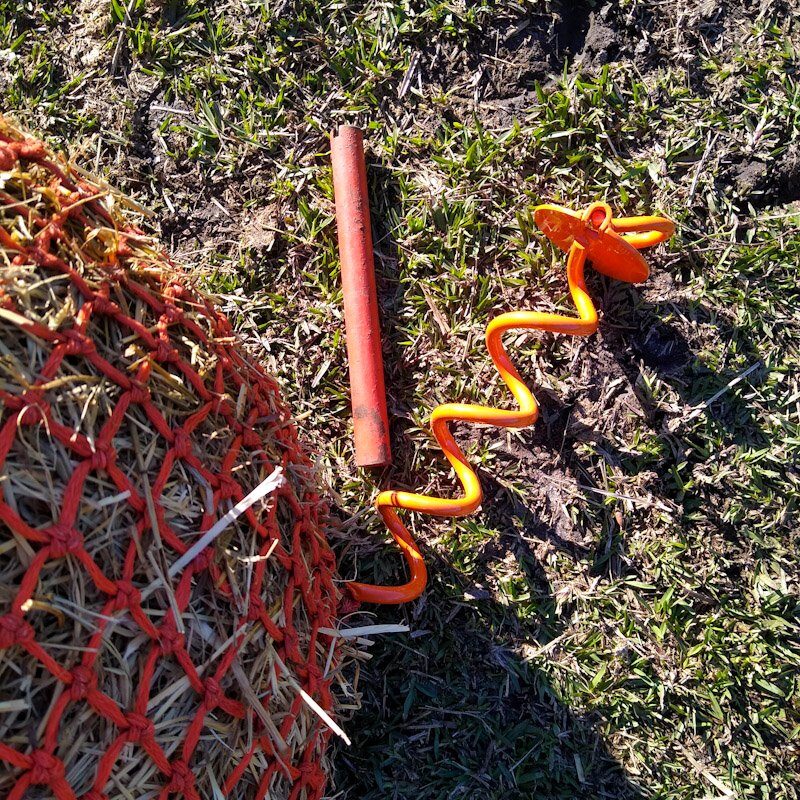
Pick an open, dry place in your horse’s pasture. Make sure you pick an area that stays dry, even after rain or in wet winters.
Push the sharp tip of the anchor into the soil. If necessary, use a hammer to gently tap it down, or make a small starter hole if your soil is particularly dry and hard. Then begin turning the anchor clockwise, supporting it as it begins to screw into the soil:
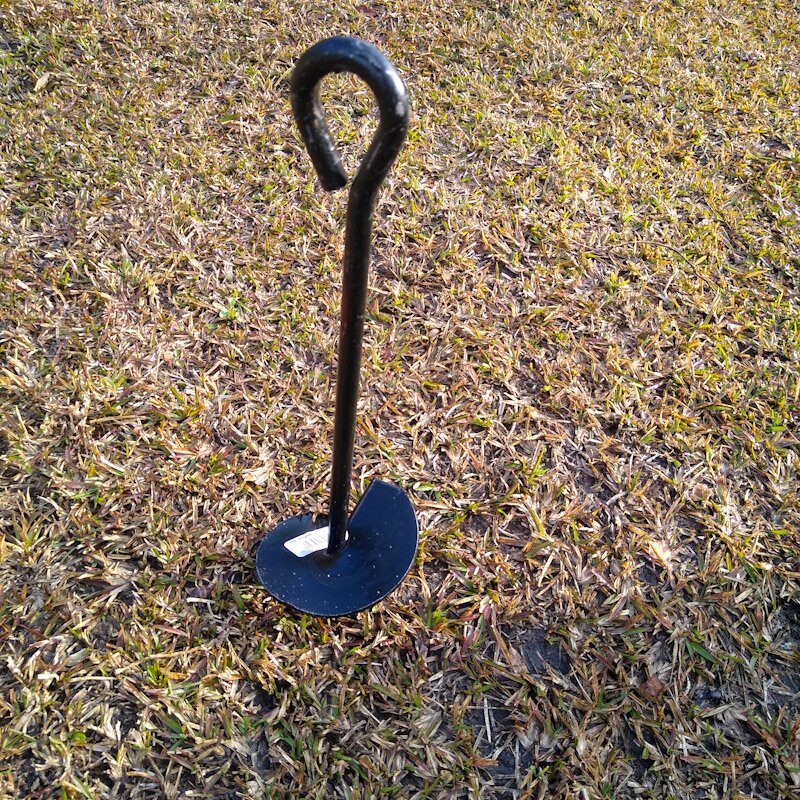
It’ll be easy at first, and then require more force as the anchor moves deeper into the earth. It’s important to get the top ring level with the ground, so slip a piece of pipe or rebar through the ring and use that as a handle for more leverage.
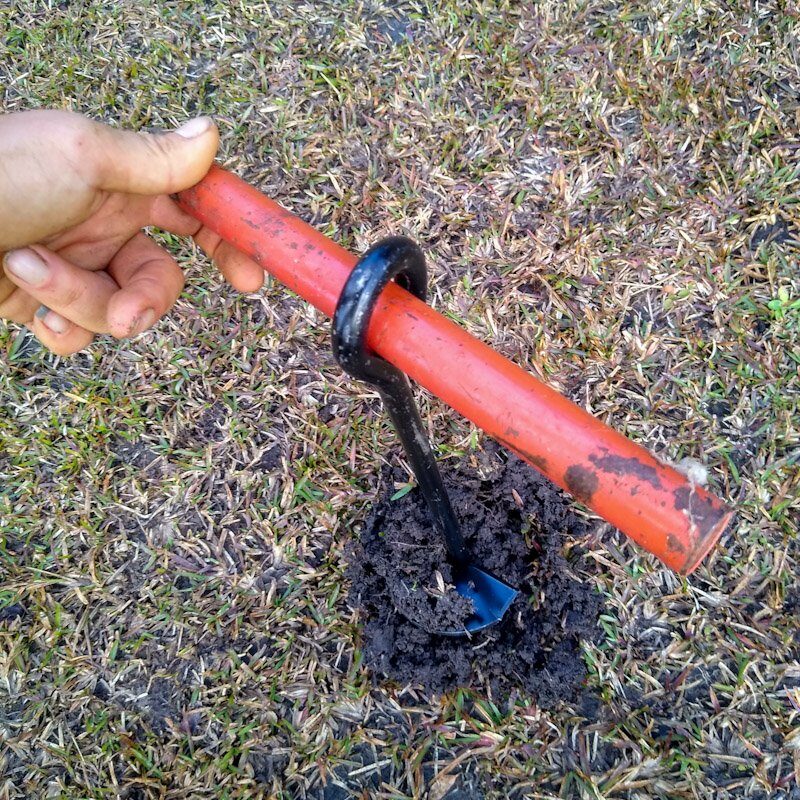
Stop turning when your anchor is completely anchored into the soil:
Rubber Mats for Extra Safety
The anchor is ready to use as soon as you install it. If you want to protect the ground, pad up around the anchor ring, or prevent your horse from ingesting any dirt, add a mat around the ring at this stage.
A heavy duty stall mat is a good option. You can also use a garage mat or repurpose an extra floor mat from the floor mat slow feeder project. Just cut a slit in the mat and slip it over the top of the ring.
And that’s it! It couldn’t be easier.
To use the DIY hay net anchor, you can tie your horse’s hay net down using the hay net’s drawstring cord. The easiest option, though, is to use a big carabiner or clip on the ring.
Tie off the hay net with the cord to keep it closed, tuck the rope away or knot it up for safety, and use the clip to gather up several sections of net and clip to the anchor. This keeps the hay net upright, and stops especially-sneaky horses from figuring out how to get more hay from the loose top section of the net.

Safety Notes for the DIY Hay Net Anchor
Check your hay net anchor each time you use it to make sure that it’s still securely anchored and not loose.
You’ll also want to make sure that the top ring is flush with the ground, and tighten it if necessary.
Otherwise, this is a very safe enrichment hack for your pasture. The DIY hay net anchor lets you secure your hay net cleanly and safely and encourages natural feeding behavior…and it’s SO simple. It’s worth adding this anchor system to every paddock.